You all know I’m not skilled in all the ways of DIY projects. It’s just the way it is, so I’ve come to terms with it. You’ve accepted (or at least put up with) my limitations since 2007. Yet, I do try now and then. While I’ve shocked myself by making a few lamps (not literally, of course, well maybe a little electrocution once or twice), in general DIY and craftiness is just not my calling.
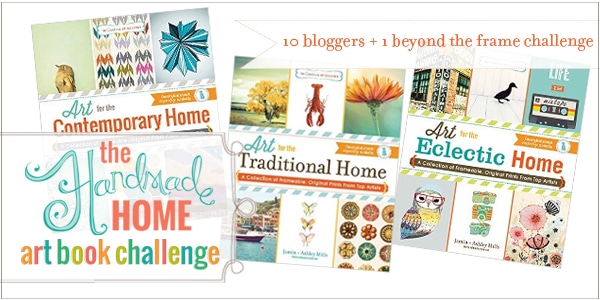
So when the ever-talented and immensely creative Jamin and Ashley Mills of The Handmade Home asked me months ago to be a part of their 10 blogger challenge & blog hop to create something amazing using art from one of their books (without simply putting art in a frame, which I totally would have been all over), I doubled checked the email to make sure they meant to invite me. Cause, you know, awkward mistakes happen.
But Jamin wouldn’t let me off the hook even after I ignored him for a month or two, so eventually, I caved. I dream of being in the group of those awesome DIY girls so I said “sure” (confidently, as if it was NO BIG DEAL).
It took me some time to decide what to do, there were just SO MANY OPTIONS. Okay, the truth is, I PANICKED. I procrastinated. I was paralyzed. Until YESTERDAY I still couldn’t even decide what to make. Y’all, I’m terrible if I have to create something ON DEMAND (not that Jamin and Ashley are demanding, they are the sweetest).
Everyone in the group was all excited about photographing their (completed) projects and I was still all curled up in bed yesterday (I KNOW) eating Halloween candy and scrolling Pinterest, just trying to make a decision about what I should do. I really wanted to do ALL THE OPTIONS.
I had flashback visions of Ashley’s ridiculously amazing DIY Mariners Compass that she created OUT OF A RANDOM BRASS PLATE I sent her in the She Sent Me What challenge. I tried to stump her and without batting an eye she created A MASTERPIECE that I dream about buying from her someday, because it’s that awesome.

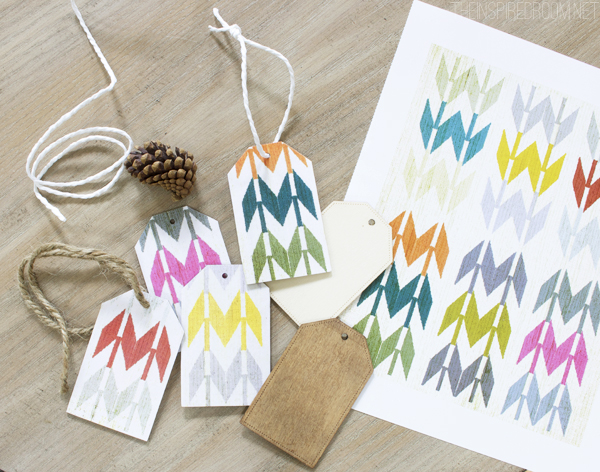
After ruling out projects involving power tools, furniture revamps using paper måché or wallpapering a bathroom with art, and basically avoiding anything involving over 7 steps or the likelihood of any injury, colossal or irreversible damage to my house or furnishings…I decided on gift tags. I know. Safe.
But yet, I think they turned out pretty adorable! And they were easy, so big sigh of relief over here.
I had found these adorable sturdy wooden gift tags (pre-cut, which meant I didn’t even have to whip out my Dremel MultiMax or my Ryobi…SCORE) at Michaels Craft.
I made a bunch of “handcrafted” gift tags and didn’t even suffer one paper cut or splinter! Proud!
While they would be adorable on a gift box, a jar, or a basket, or even strung together like a snazzy pendant, I’m thinking of using these cute tags on a little mini tree this Christmas! Yep, I’m already getting in the festive holiday spirit and thinking about my Christmas trees :).
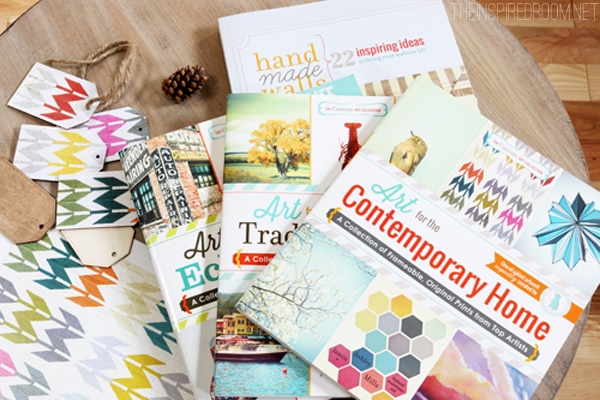
I love all of the ideas and paper and print options in the books. There were so many cute images to choose from, it really was inspiring! I love that you can also photocopy the pages and reuse them as much as you want! I actually came up with several ideas for how to use some of the other prints I loved, but they would involve a little more time and practice so I’ll save those projects for another day.
So, these are really easy and nearly DIY-challenged people proof! Here’s how:
DIY PAPER BACKED WOOD GIFT TAGS:
1. Find the wood gift tags at Michaels’ Craft (they were near the Martha Stewart craft aisles at our local store).
2. Select a pattern or image you want to use for your tags. I photocopied (onto regular printer paper) this page from Jamin & Ashley’s book called: Art for the Contemporary Home.
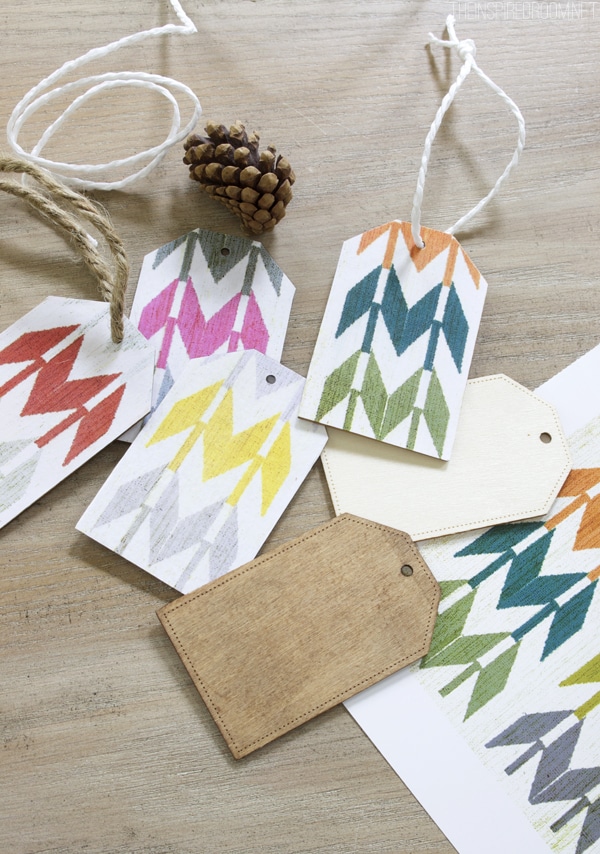
3. Cut your design to fit, using the tags as a template. You can cover both sides, use different images on each, or leave one side raw wood, as I did.
4. Use Mod Podge or a similar glue and a foam brush to adhere the paper to the tags and put one or more coats over the top. You can seal them with a topcoat if you want to make them extra sturdy and durable, but I skipped that step for now.
5. Use a small hole punch to pierce the paper to expose the hole.
6. Tie a ribbon, twine or string through for hanging!
ENJOY! Now go forth and be inspired and in awe of the amazing talent of the rest of the group! Did you see Jen Rizzo’s owl project? SO CUTE! Next stop is my friend Nester! Head on over! See below for the entire blogger list!
Thanks, Jamin and Ashley, for including me in on your challenge. You guys rock.


What a fun idea and perfect for Christmas!
Thanks for the inspiration!
Have a great day rock star!
karianne
Such a fun idea – I love how everyone came up with something totally different! So pretty!
Oh I am so gonna steal this idea! Love love love!
LOVE this, as usual! Everything you do gives me warm fuzzes! Thanks again for participating! You’re just so fun! ;}