
Hello friends! Cassie here!
Last month my guest post featured some of my favorite baby items to give and receive as gifts. I also promised I would share a tutorial for one of my favorite baby items you can easily make yourself. Well here it is!
Babies are pretty messy little joy bundles, and I have found that one thing I cannot ever have enough of is burp cloths. Not just any burp cloths mind you, but homemade, super absorbent, very soft, last-way-longer-than-store-bought burp cloths. Homemade burp cloths can be made in a variety of ways, but I am here to share with you the way I prefer to make them. Also, if you are not into making these yourself, Etsy has some wonderful shops that sell good quality, customizable burp cloths.
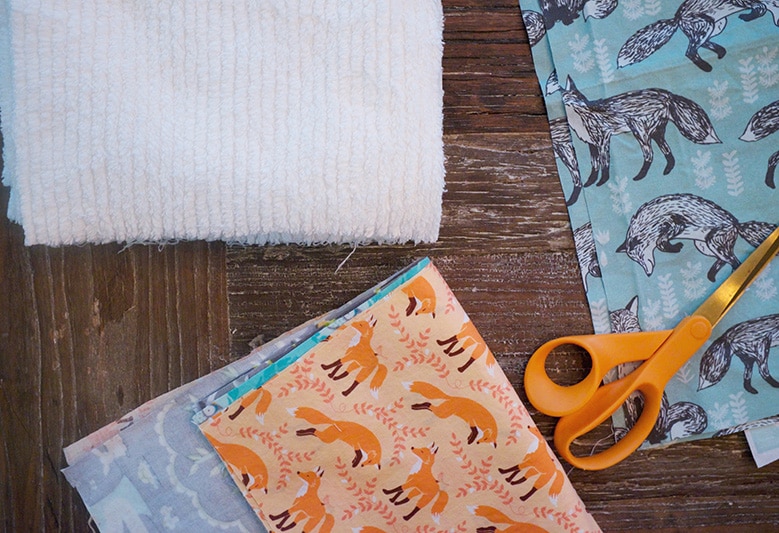
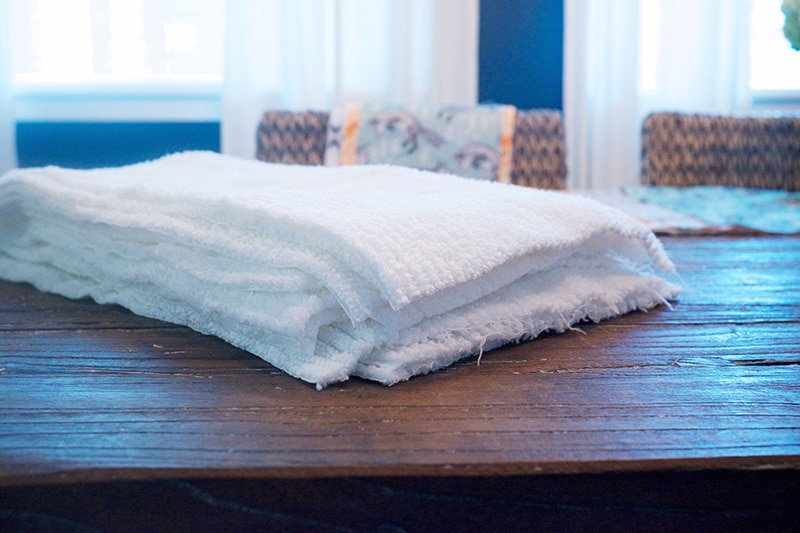
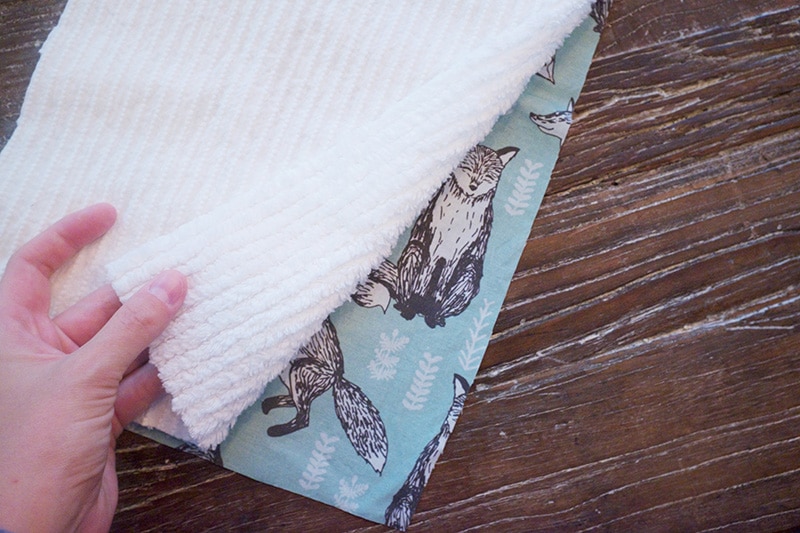
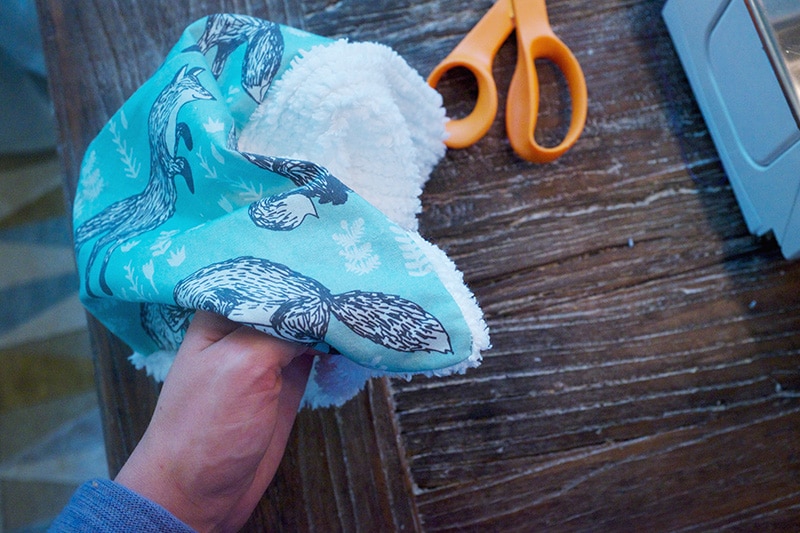
The biggest key to making these extra wonderful is what material you use for the back of the cloths. I have used a few different options, such as flannel, terry cloth, and chenille. The winner by far has been the chenille. It is soft, but also very absorbent. The lines in the fabric make cutting it easily and quickly a breeze, and it also looks nicer than other options.
Here is what you will need to get started!
- Chenille fabric– I like white or a nice neutral you can use with any other fabric you want for the front of the cloths
- Fabric for the front of the burp cloth- I prefer to find a few that all sort of go together so I can package a set of 3-5 cloths for a gift.
- Pins
- Scissors
- Iron
- A sewing machine
- Matching thread (I tend to make a bunch of these at once, so I usually just use white to make the process go quicker)
Step One:
Cut your front fabric to your desired size. I like my burp cloths pretty big, so I tend to cut mine roughly 10″ x 18″ (The cloth will be about an inch smaller overall when done). Cut the chenille the same size you cut your front fabric.
I tend to cut a whole bunch at once to save time if I need to make any last minute in the future!
Step Two:
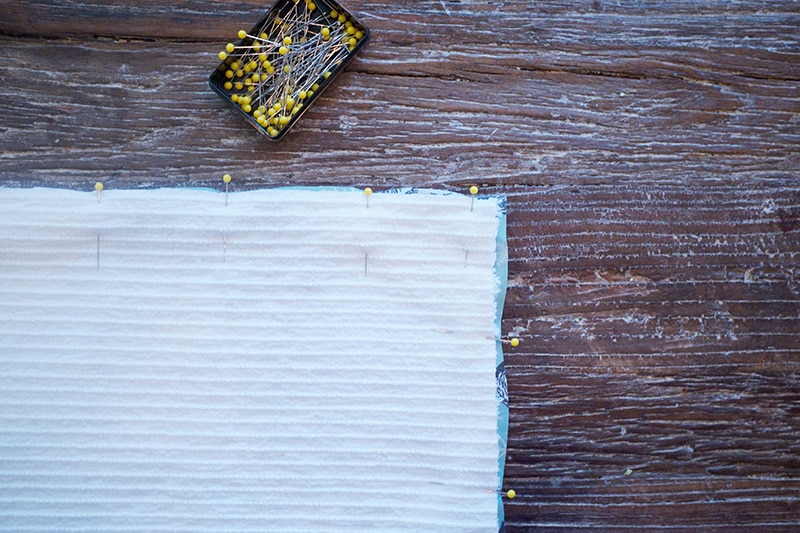
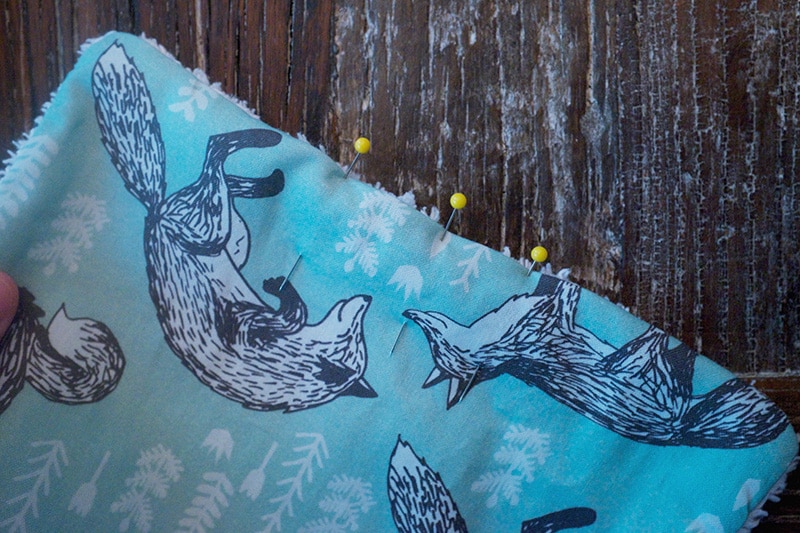
Match up the two fabrics, right sides facing in. Pin together, leaving about 3-4 inches between the two middles pins on one of the short sides, you won’t sew that gap together in the next step, this allows you to turn the fabric right side out.
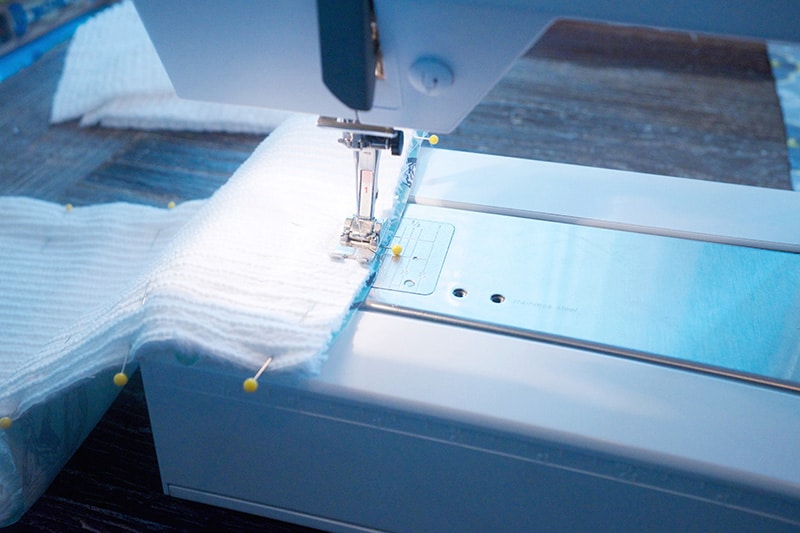
Step 3:
Starting right after where your gap will be, sew the fabric together, with about 1/4-1/2 inch seam allowance. The chenille likes to move and shift a little bit, so mine tends to not be super exact, but as long as it’s straight, your okay!
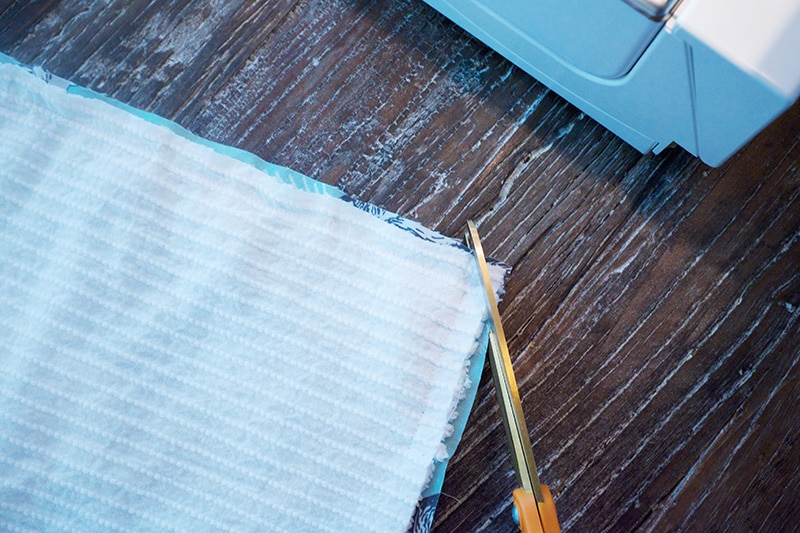
Step 4:
Trim the corners, and if you have a larger seam allowance, trim off extra fabric.
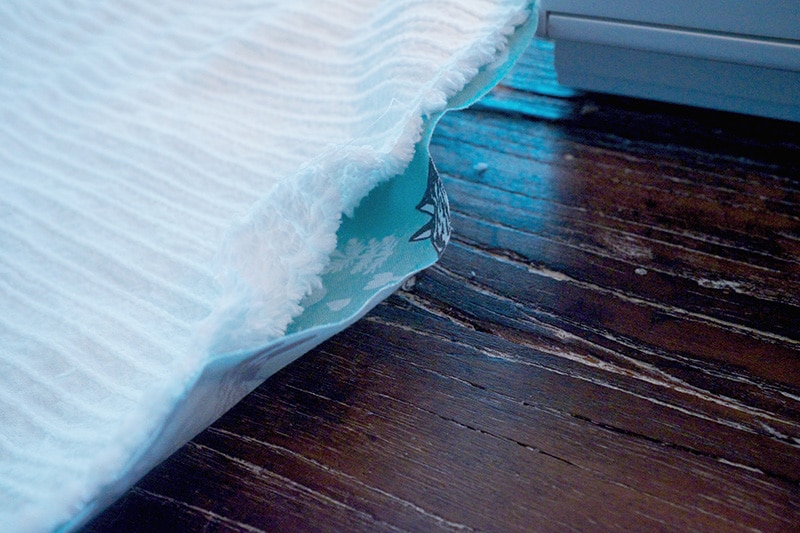
Step 5:
Find the gap you left and turn the fabric right side out. Iron the seams flat, and fold in the fabric where you left the gap and iron it down.
Step 6:
Pin the gap closed. The edge should look just like the rest of the burp cloth, but not be sewn down. (yet)
Step 7:
Starting where you left the gap, sew it shut by top stitching around the whole cloth, about 1/8″-1/4″ from the edge.
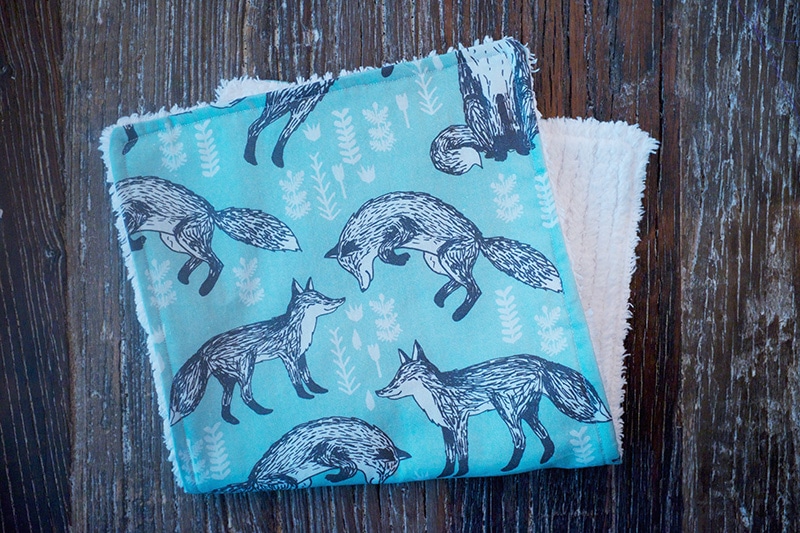
That’s pretty much it!
Like I said, it’s nice to gather a few fabrics that sort of match or have a similar theme and package them together as a gift. This set of five I made have similar colors and three of the fabrics feature foxes on them.
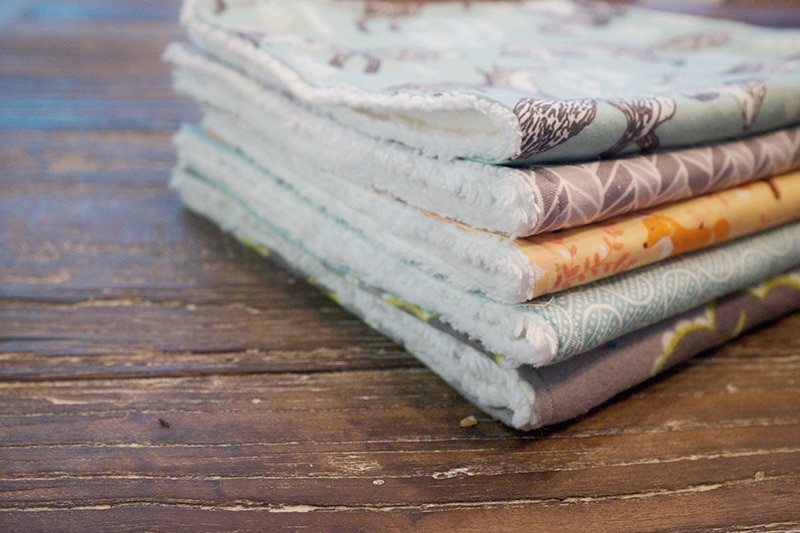
I love how this set turned out! I have probably made 20-30 of these, and I get better and quicker at making them each time. It’s a great way to use up scrap fabric you might have laying around.
If you are looking for unique fabric, I love buying fabric off Spoonflower. If you haven’t heard of it, it is basically a site where you can design your own fabric or buy fabric by independent designers. It’s a little more expensive, but I get 2 burp cloths out of a fat quarter, so for this project I don’t even have to buy it by the yard. The blue fox fabric I used for this tutorial can be found here.
I look forward to chatting with you all next month!
Cassie
– – – – – – – – – – – – – – –
Catch up with all of Cassie’s monthly posts here! Don’t miss her intro and adorable mini home tour!


These are so cute! I also sometimes use thick, extra absorbent cloth diapers for the backing with a cute flannel fabric on the other side. One other thing I find helpful is to use clear thread—it can be used with ANY fabric combination! When I give home made extra thick burp cloths, people like them when they open them, but usually once the baby is a few months old, I hear back from them saying those are “the MOST PRACTICAL gift I received and I use them every day.” I recently saw a young mom who I’d given burp cloths to post a picture of her holding her baby on FaceBook and there was one of my hand made burp cloths draped across her shoulder :)
These are so cute! I have a new grandson who could use a bunch. What type of fabric do you recommend for the top cloth?
This is the cutest little idea! I am absolutely doing this the next time one of my friends has kids (or maybe it will be me next who knows!.) Thanks so much for sharing.