Summer House Tour
Hello everybody! I'm so glad you are here. I hope you are having a great Monday! I'm excited...
Hello everybody! I'm so glad you are here. I hope you are having a great Monday! I'm excited...
Find part one of this post Staircases & Big Steps here. In 2009, we took a big step of...
Recently, my husband and I were enjoying an afternoon together window shopping in Poulsbo....
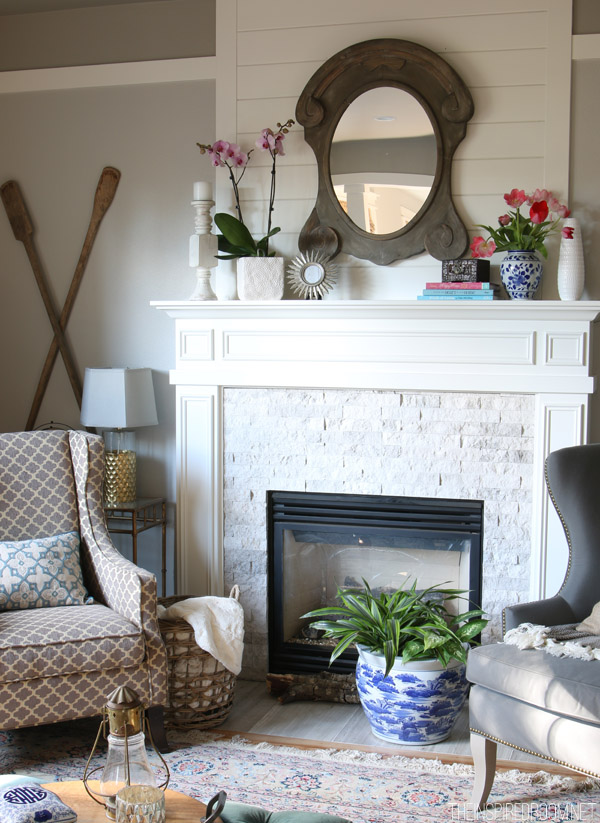
I have a fascination with charming little corners of a house. In older houses you sometimes...
The sun has been out the past few days and it has been so pretty! We've had such great weather...
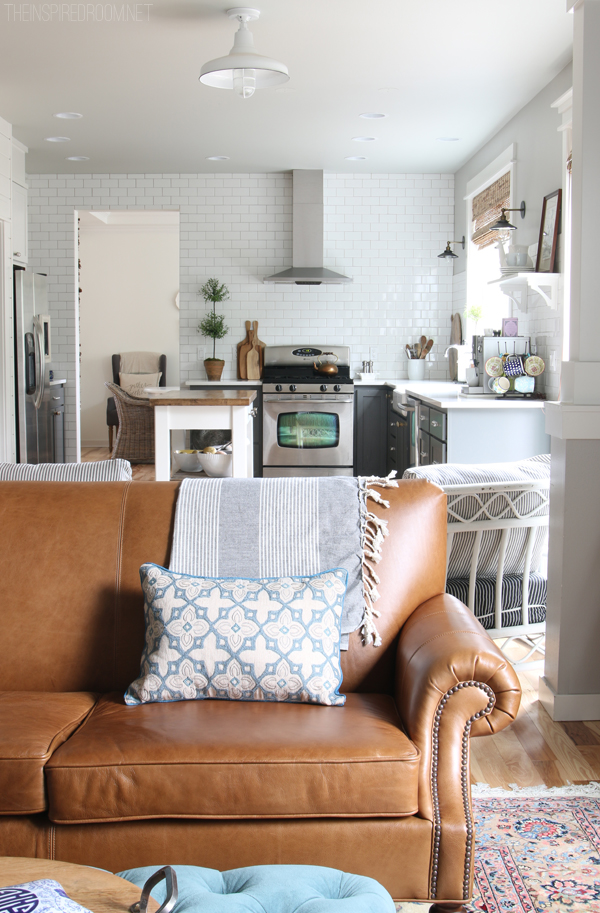
Leather Sofa February is a good month to do a little house fluffing, don't you think? Of...
Greetings, friends!! My internet has been out and our lights flickering all evening. It's a wee...

Welcome, friends! I'm SO glad you stopped by today for the annual Christmas tour of my...
![]()