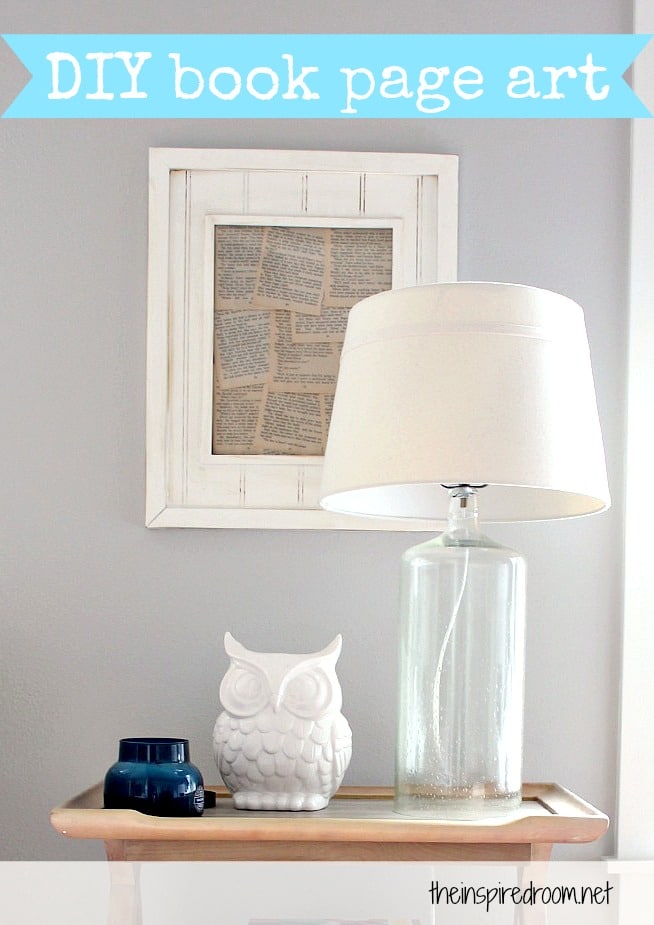

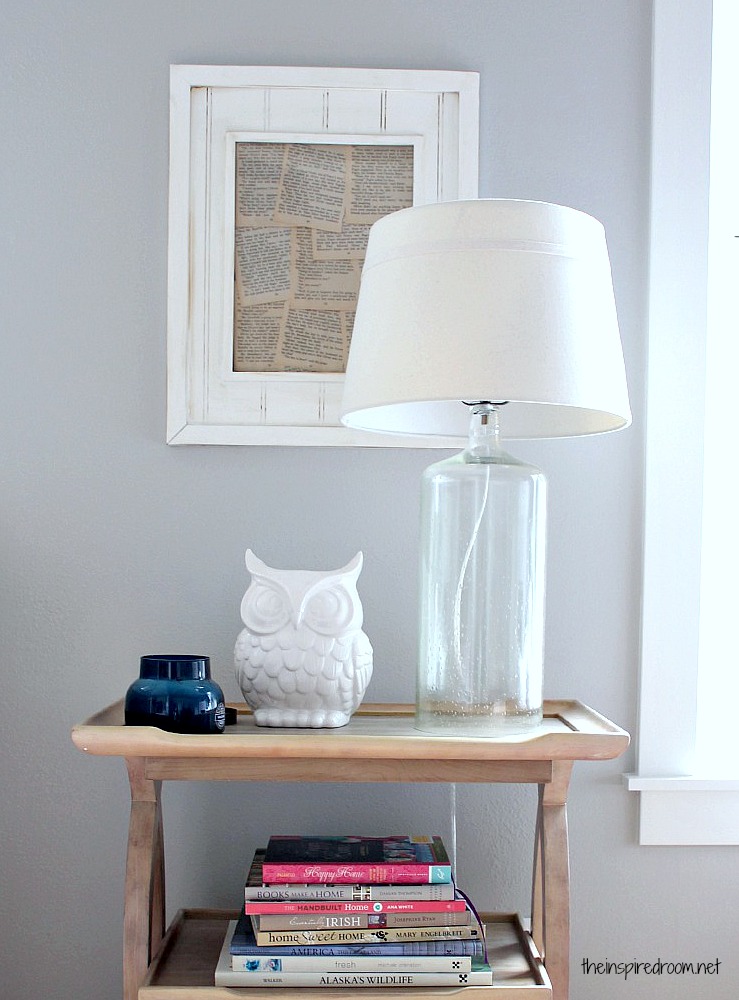
I‘m glad you all liked our DIY book page art, hanging in that little corner of our family room! Due to popular demand (I’ve always wanted to say that! THANK YOU!), I’ll show you a little bit of how we put this together, but obviously it doesn’t require many instructions. Trust me, if it required complicated instructions, it wouldn’t be my kind of DIY. We made ours on a whim one day, when we needed some quick art for a wall. I’m sure it took less than five minutes!
Here is how to make your own DIY book page art!
Step One: Decide what book you want to use.
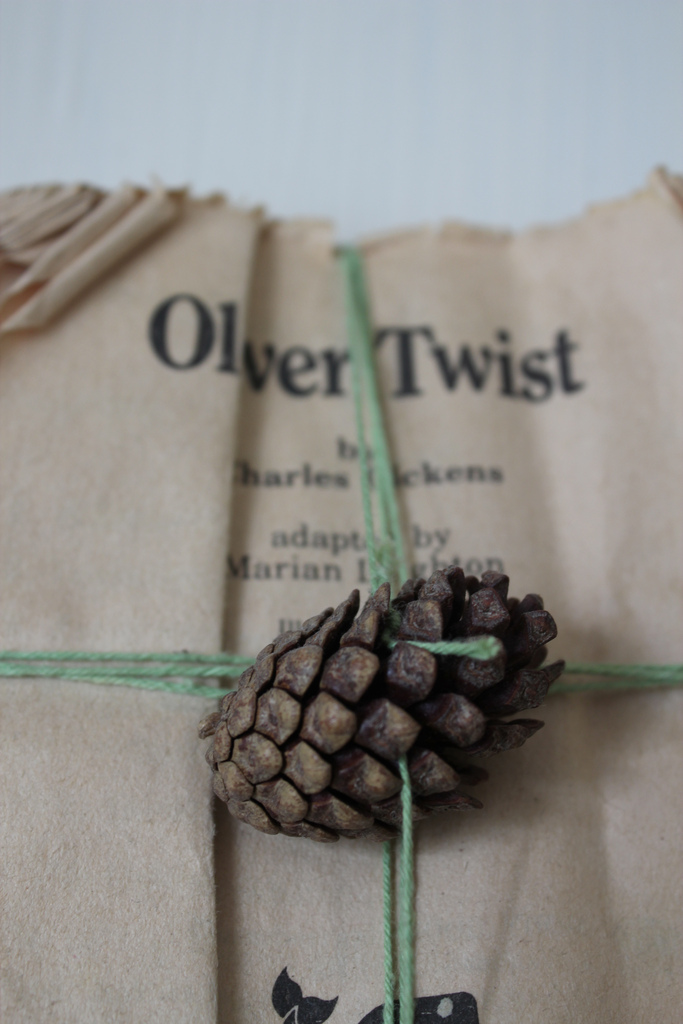
You might want to choose a book that has meaning to you, or that is a representation of your family in some way. Maybe a favorite childhood book! Or not. It really doesn’t matter a lot, but it is more meaningful if you actually like the book. We choose Oliver Twist, just because it is a fun book. You might remember seeing the book pages here before, we had them all tied up with a pine cone (see it above?), but we took a few pages out to use for this project.
Our frame is 11 x 13, so a smaller paperback style book will probably work best if you want to see several pages in the frame. I like that our book is a little worn, tattered and a bit discolored.
You can find old used books at Goodwill or rummage sales so it is a good idea to stock up when you see them, so you’ll have them for future projects.
Now in my case, our “Oliver Twist” book was already dismantled when we bought it. So don’t shoot me for destroying a perfectly good book, the deed was done prior to my ownership. Heheheh. I’m not responsible!
Although I will defend anyone who wants to rip apart a book to use it as art, because my feeling is it is an honor that you are showing it off and using it, rather than letting it collect dust in a garage. Use what you have, right? That’s right, ladies. Go forth boldly in decorating your own home and don’t let the fear of book protection services (BPS) stop you.
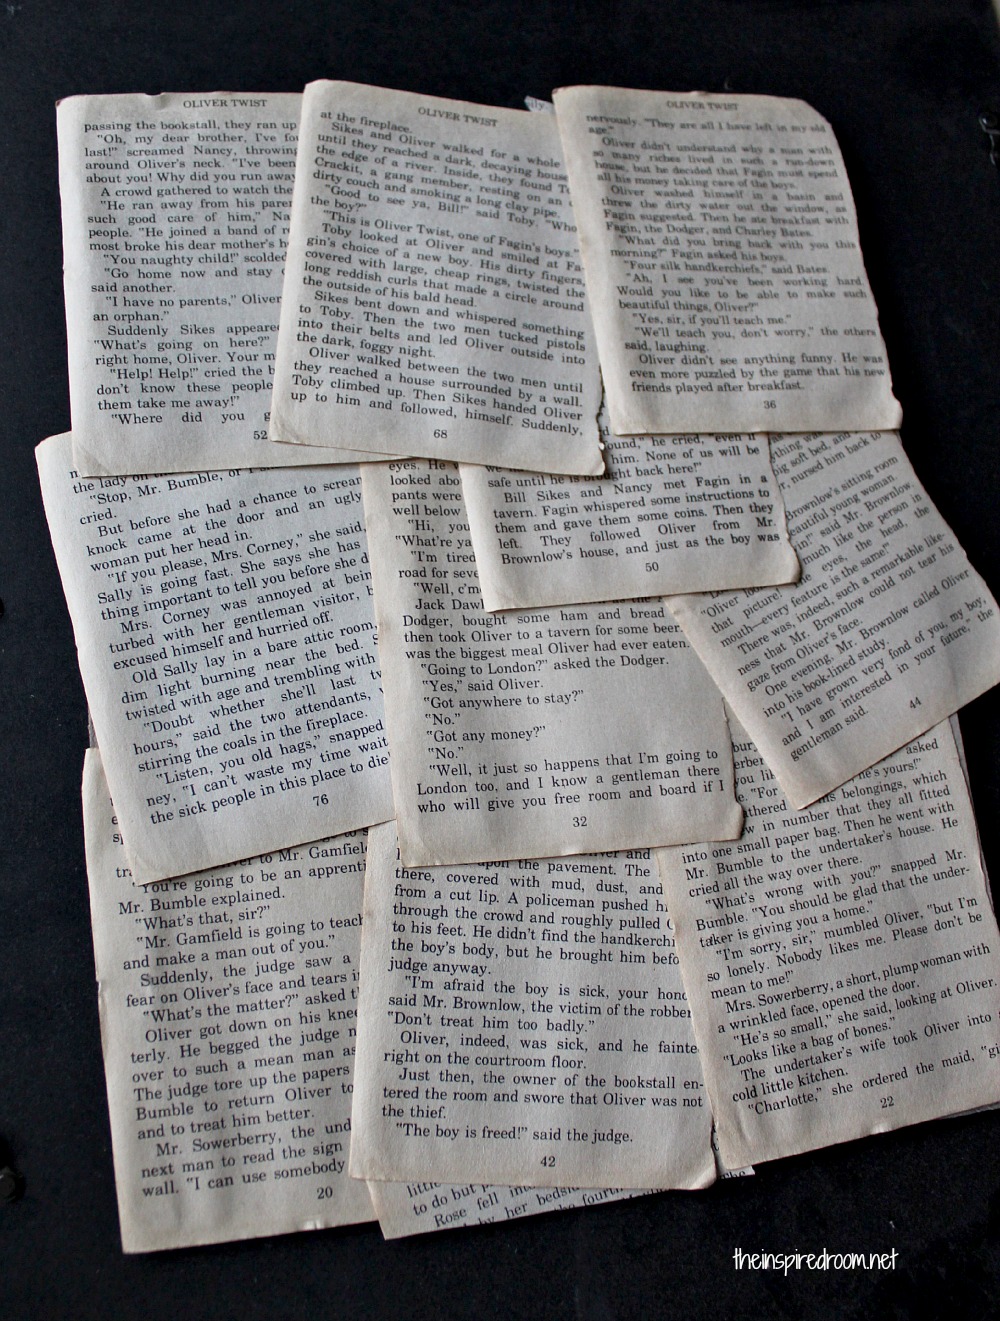
Step Two: Choose a frame and arrange an assortment of book pages randomly on the piece of cardboard that usually comes in the frame.
I just used an 11 x 13 frame I already had (from Michaels Craft). Fan the pages out any way you want on the cardboard, you don’t have to do this in any particular way or get it all perfect. Just start with an idea of the layout or order you want. We had NO rhyme or reason to the order of our pages, except we kept the title page out because we thought it was cute enough for it’s own project.
Then use some double sided clear tape (or roll up some one sided tape) and stick all of the pages down to the cardboard, starting at the bottom with one row, and then working your way up to the top, overlapping each row a little bit. Again, don’t even try to do this perfectly. It isn’t necessary! In the end it will look awesome no matter what.
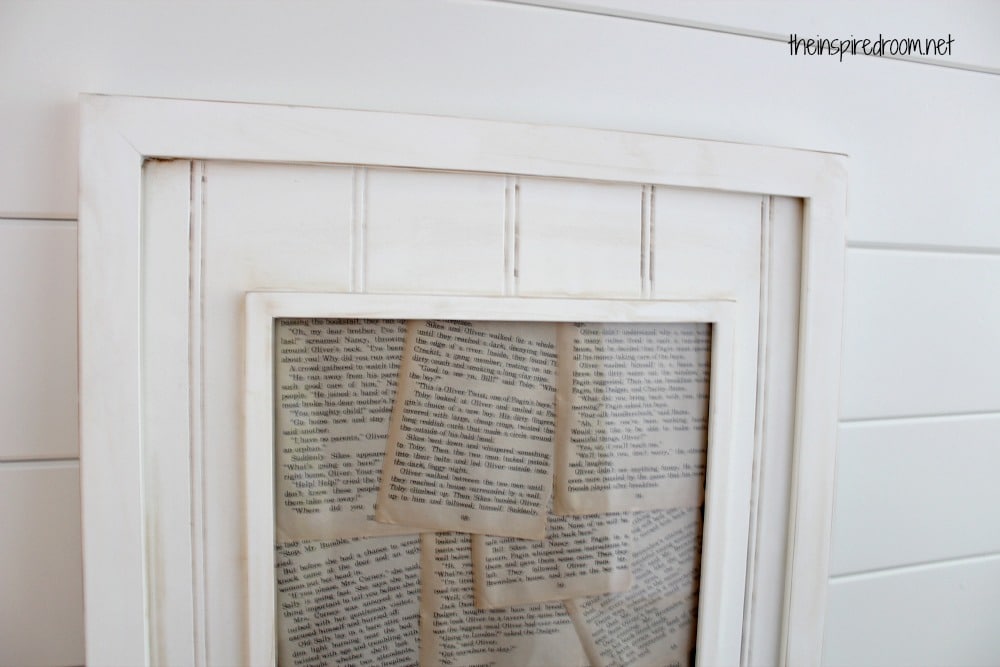
Step Three: Put the cardboard with all the book pages attached back in the frame.
You can put the glass in the frame if you want the pages to lay down flat (so they don’t blow around!), or bypass the glass if that works better for you. I kept the glass in so it looked a little more “finished.” Have you ever noticed it is hard to take a picture of a frame that has glass in it? Um, yeah. It is. So I suppose if you are going to take pictures of your finished book page art, you might want to remove the glass.
Step Four: Hang the frame and admire your brilliant (but ridiculously easy) DIY book page art.
The end.


I haven’t seen this before. It looks easy and great!
Love it! Thanks for the tutorial. I think I will make one for my daughter with Pride and Predjudice in it, and Wuthering Heights for me. Our favorites.
Love your family room!! Would youwant to share the paint color? It’s beautifu!
Thanks! It’s Glidden polished grey!
I just wanted to say that I love this. Thank you for sharing it
Thank you Angela! :-)
Love this! Have something similar planned
I love the frame… did you make that yourself too?
I love how your projects are so easy and turn out so great! Thanks for sharing!
Another fun book idea is to buy old encyclopedia volumes for pennies at garage and library sales. Look for the ones with pages of illustrations. Cut out those pages and frame them. You’ll often find a page of crustaceans or plants or the parts of the eye. Lots of ideas and cheap cheap cheap ;<)
Such a great idea! Love it!
Leslie
This is so creative! I love it! Thanks for posting such a wnderful tutorial. This would be fun too with a children’s book pages for a baby or child’s room. Thanks again for sharing this!
Love it! Also using pages from old horticultural catalogues or magazines make fabulous DIY framed prints.
I think your wall art is fantastic. I am so fortunate that our local library has several books sales a month and I am always on the lookout for old books with interesting pages or covers. Last visit I scored some music books with page after page of musical notes, just waiting for a craft project. Any ideas, anyone?
I love this project and I also love that huge white owl, do you happen to remember where you found him?
Wonderful tutorial, thanks for sharing. I love using books for craft projects, and I totally agree that it’s better to dismantle a book for a good cause than leave it unloved in a garage. I love making garlands/paper bunting with old books. Vintage children’s books with illustrated plates are especially fun to work with!
Good project similiar to the framing of our pre civil war newspapers and family memory items I am doing. I appreciate that you told us the book, was already in disrepair, remember when Lauren Conrad did a book tearing online she became one of the most hated people online!
Lately I’ve been into creating my own art for the walls in my house. Perhaps some old cook book recipe in the kitchen? I’ll keep this project in my back pocket for future reference. Thanks Melissa!
Hi Melissa,
I have a confession. I stalk photos in books and blogs and look at people’s bookshelves to see if they have any interesting books. Then I go to my library website and see if I can find any of them to request. I just requested “Happy Home” and a (different) Mary Engelbreit book. (I couldn’t find the one you have.) It’s so much fun to find new books that way! Thanks for sharing your craft. I’m probably a charter member of the BPS! :-) Have a great day! I love your blog.
Great inspiration as usual Melissa…..love recycling books to use in paper-crafts – thanks for sharing x
This is great! My husband is a hopeless romantic and has written me a love letter each day for the past 8 years, each one special and from the heart. I have all the letters bunched up and tied with ribbon. I’m going to try making it and hope it doesn’t look messy with different types of paper and ink color..