
This Post May Contain Affiliate Links. Please Read Our Disclosure Policy here
When we bought our 1950s brick ranch in Seattle about five and a half years ago, it certainly wasn’t my dream house. It was in pretty good shape for a 1950s home, it just wasn’t my style. Plus it was ready for some updates, which made it the perfect house for us as we were able to make it our own.
When I squinted my eyes a bit and looked past the things I didn’t love about the house, I could see how it could become (over time) the house I dreamed of–a charming coastal cottage!
A lot of what we did to update was simple and affordable, a little paint, some hardware, a new light fixture…yet some of it was a little more effort like a brand new kitchen, a new patio/deck, etc. It’s amazing what you can do with a little paint :).
Over time, we began transforming this home into a place we love to live. We still have so many projects we want to do. But instead of just feeling frustrated that we aren’t further ahead ahead or dreaming of more we want to do, I find it beneficial to look back at how far we’ve come. The before and afters still shock ME sometimes!
I’ll be creating some separate posts to share inspiration for the upcoming house projects we’d like to do next in our home, but in the meantime, let’s enjoy this walk down memory lane.
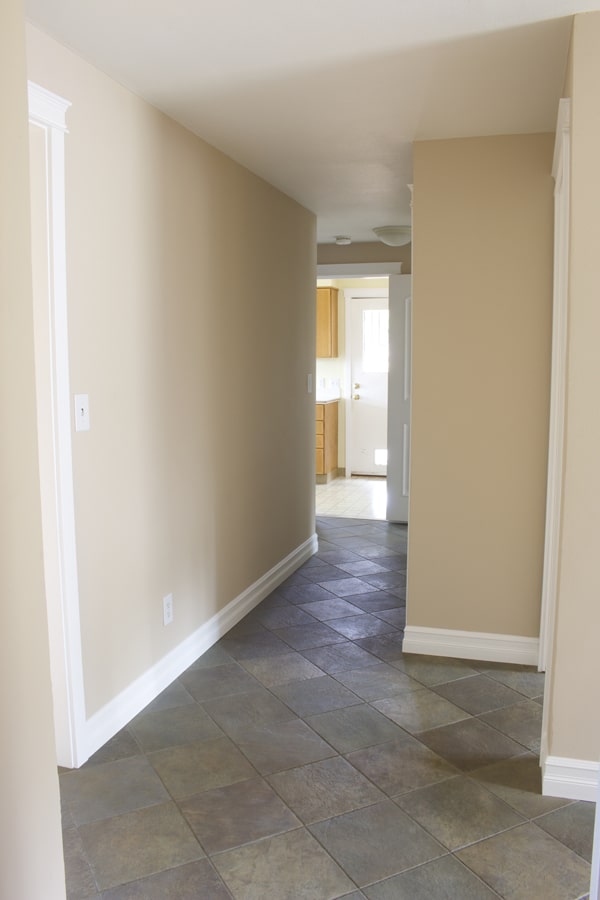
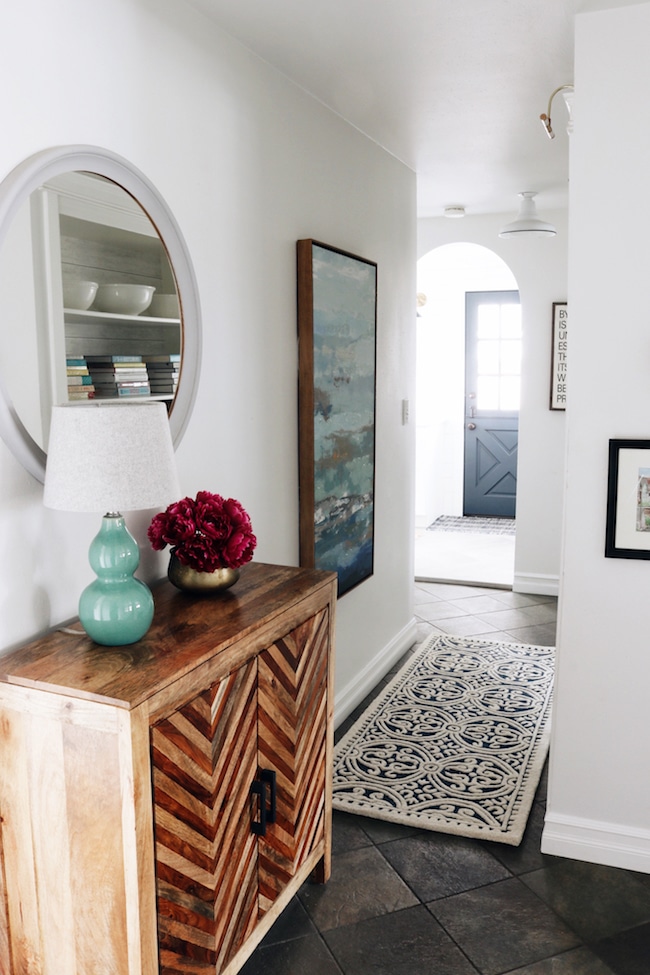
Our house is in a constant state of change, so you’ll see the plants grow or landscaping change, or decor and furnishings shift around from photo to photo. That’s because these photos were taken over the past several years. I tend to think of some of them as “progress shots” rather than “afters” since we are often continually updating each space (and in some cases we haven’t taken final “after shots” yet. The final afters on some of our projects are still a few years away :).
This post won’t highlight everything we’ve done, but it’s a fun round up of some of the changes and a way to highlight the transformation throughout the house. Enjoy and click the post links below each photo for details.
Click the links below for posts on this space:
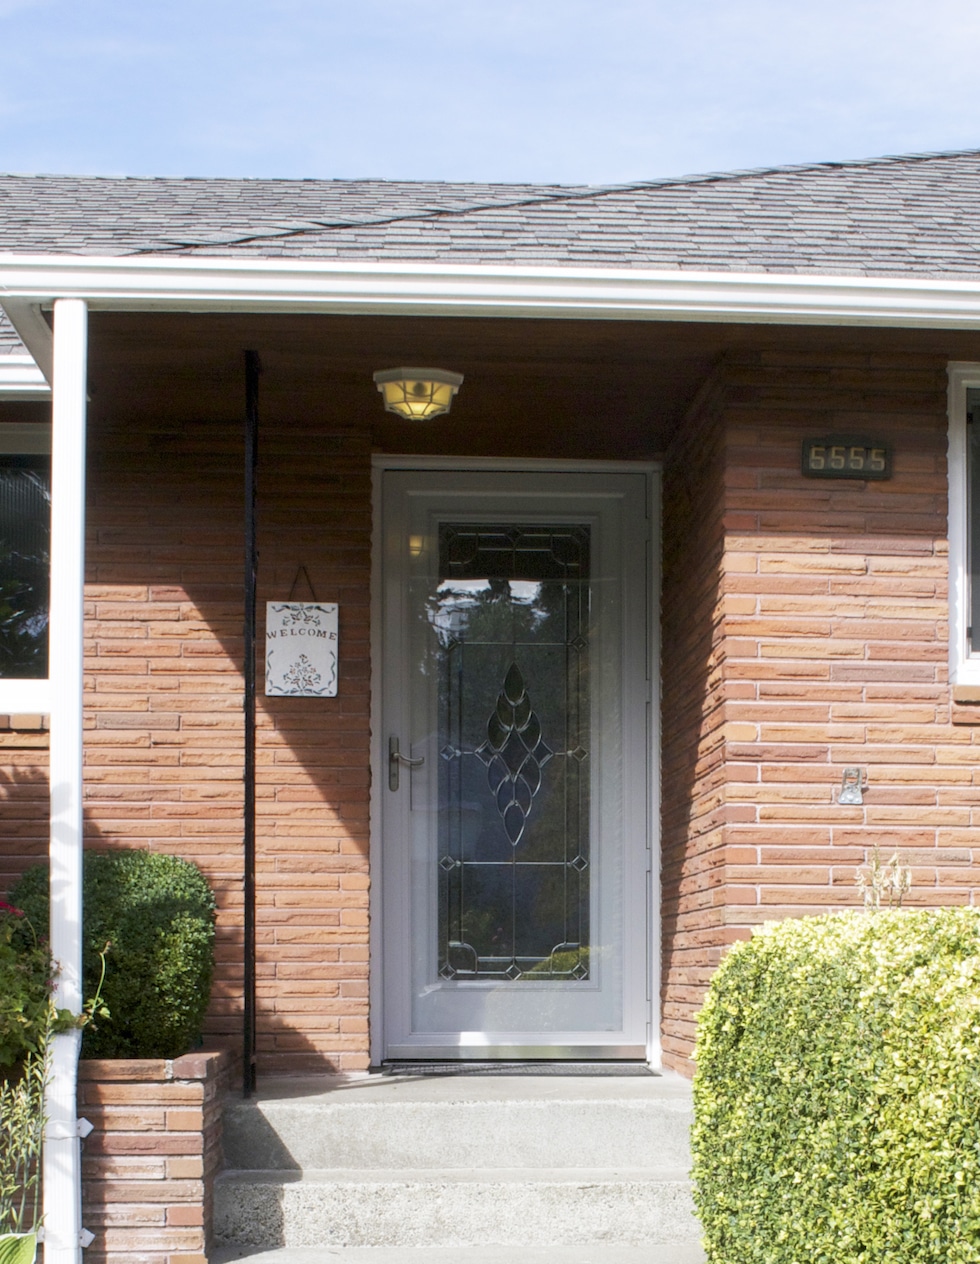
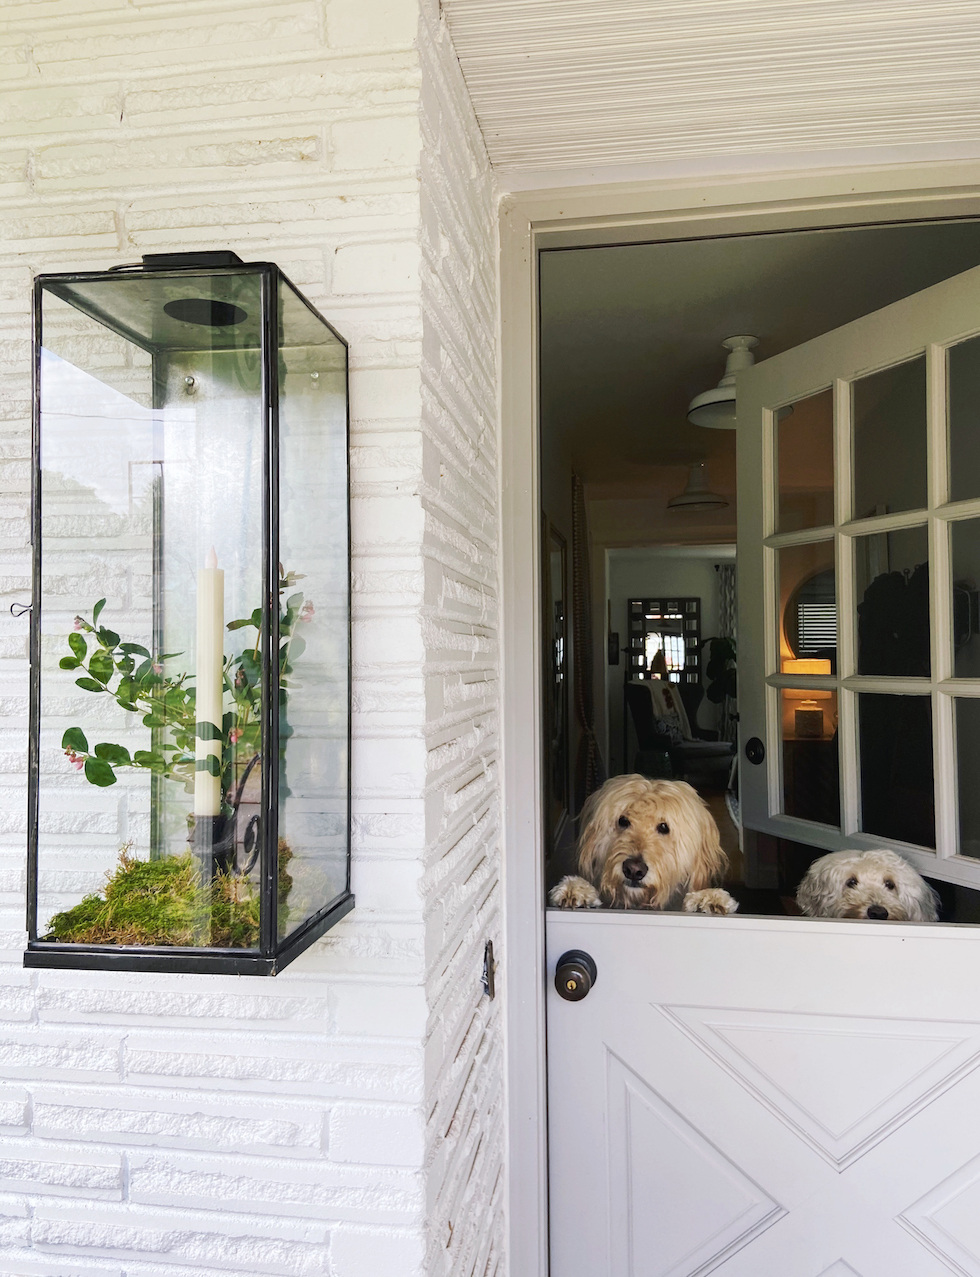
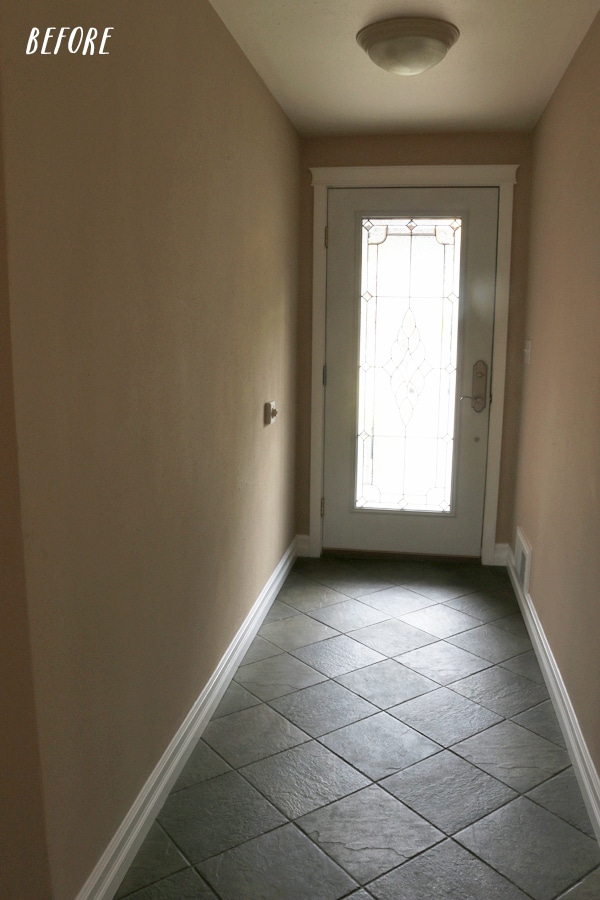
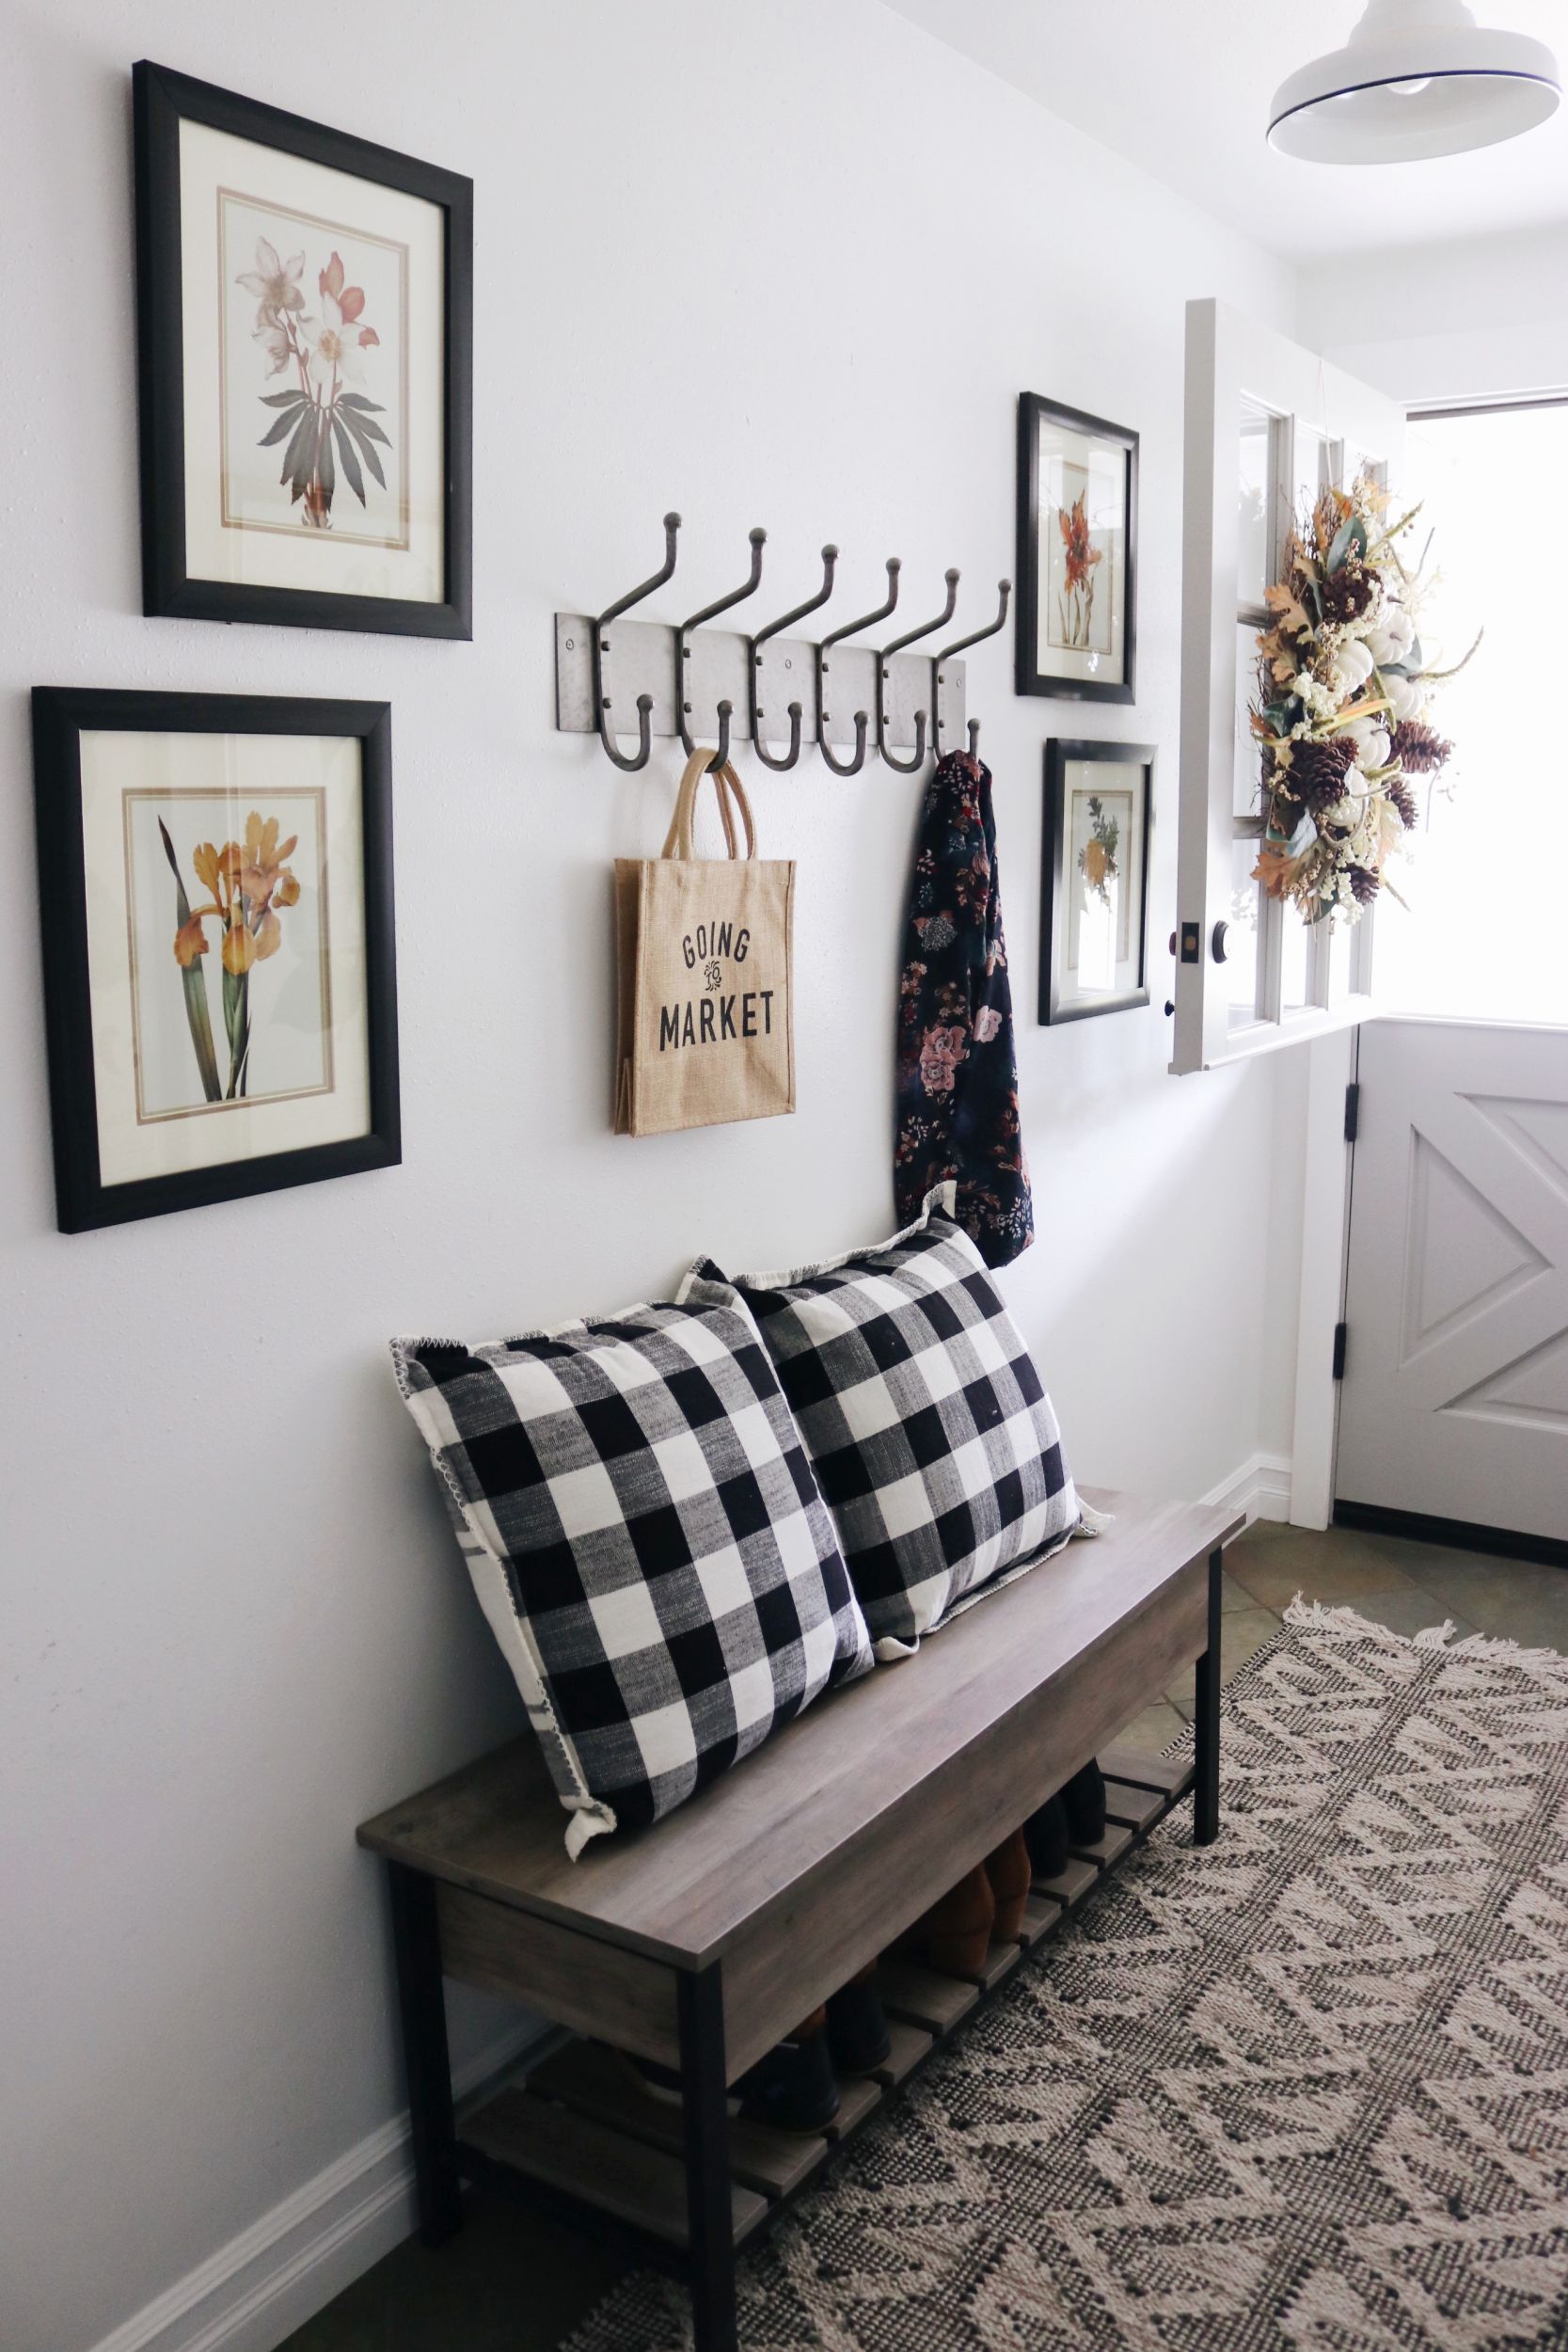
Replaced front door with Dutch door
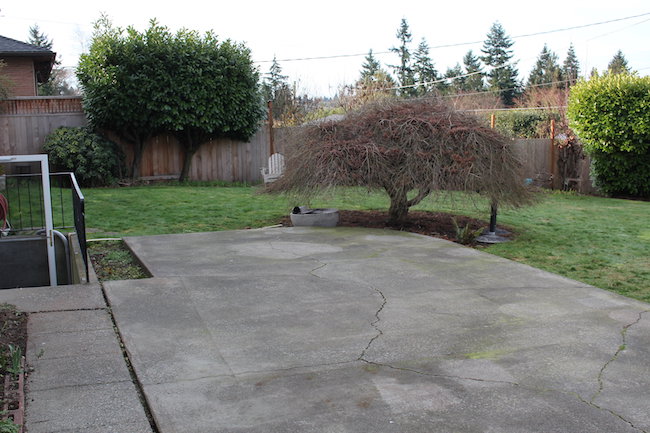
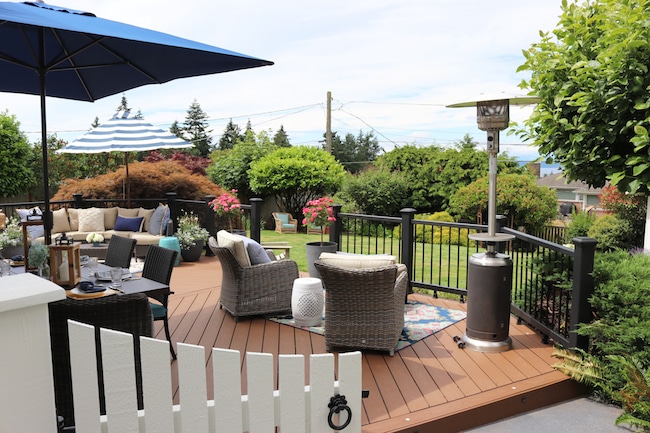
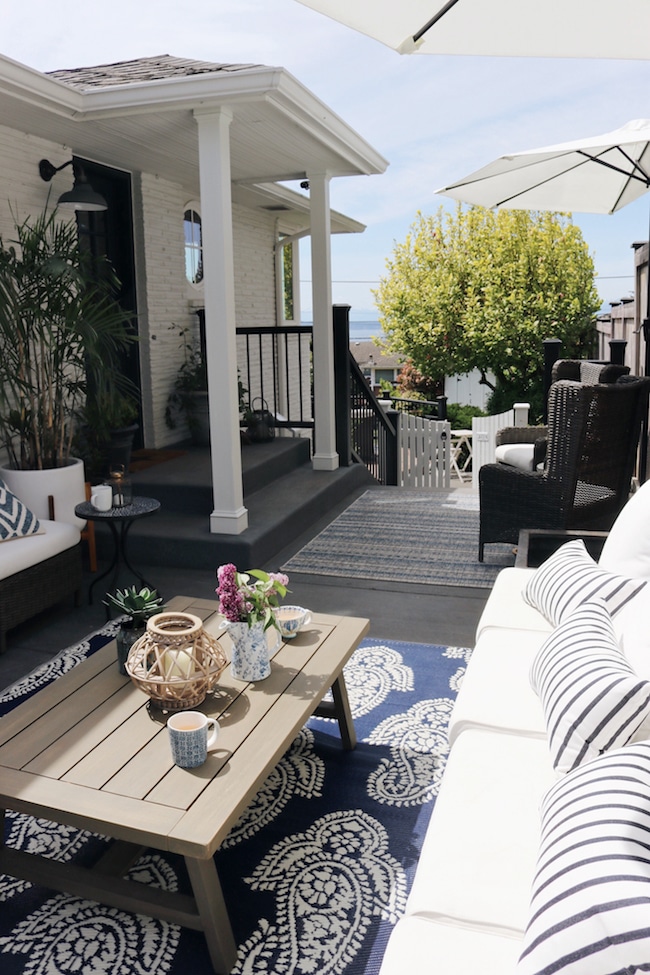
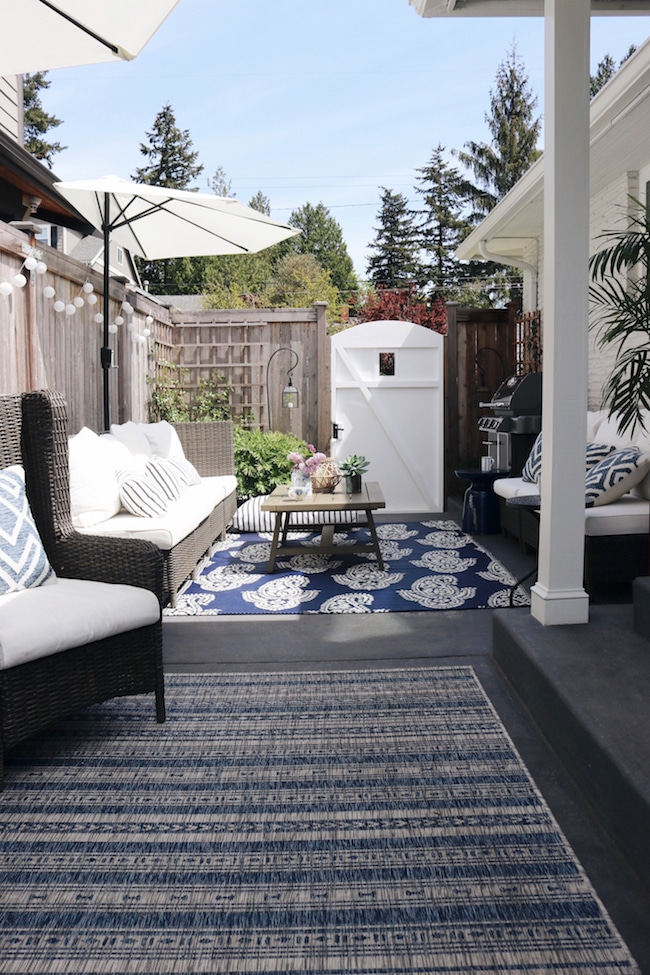
Tore out our side yard and created a patio.
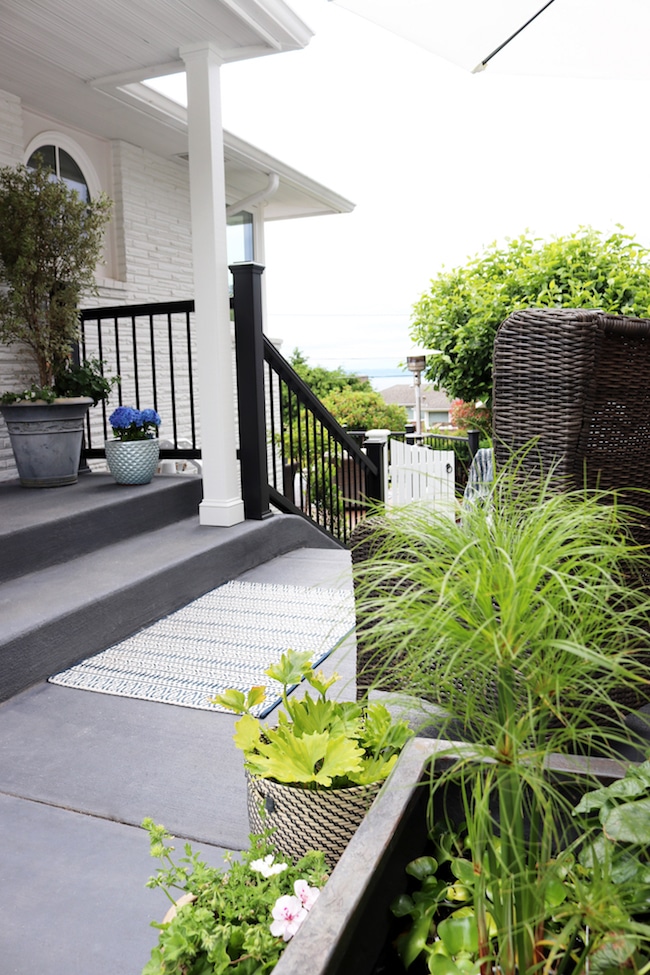
New posts and light on the porch
Click the links below for posts on this space:
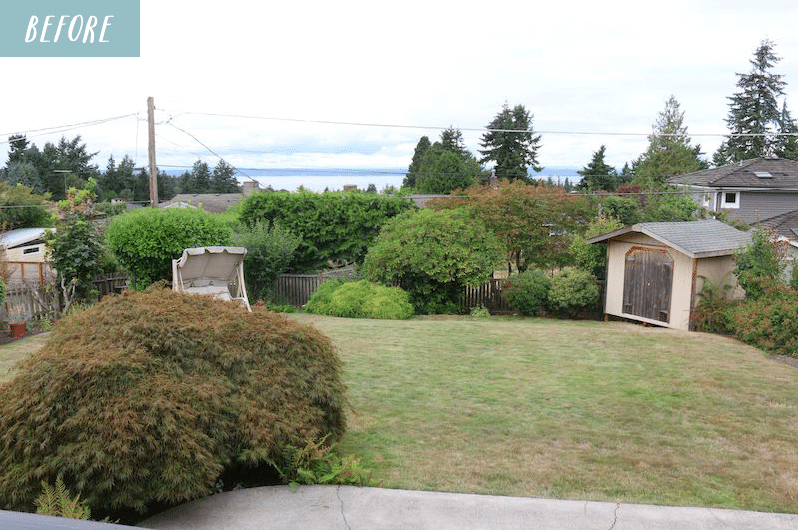
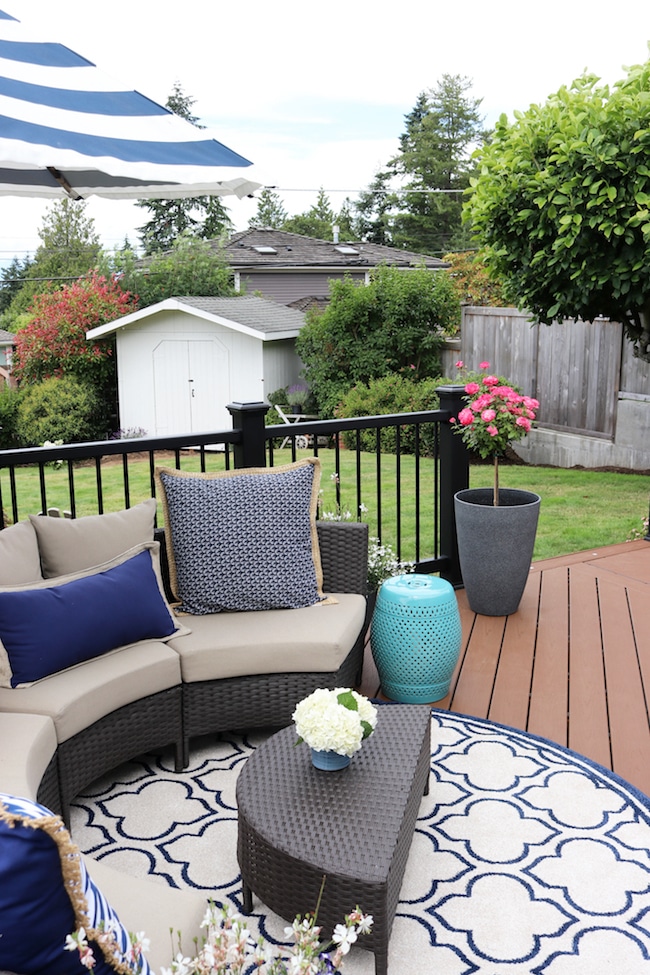
Progress: Painted the shed white (click for details)
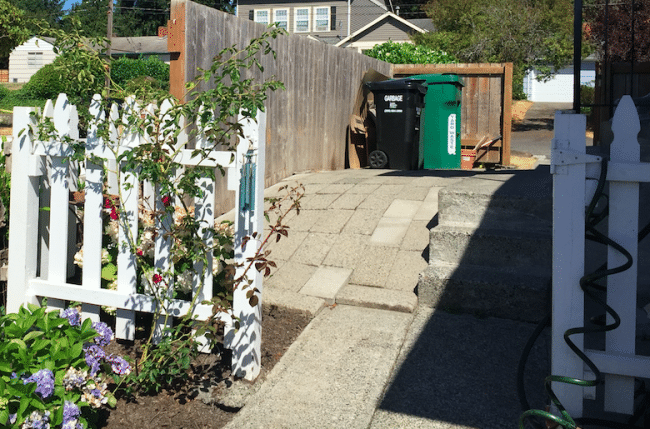
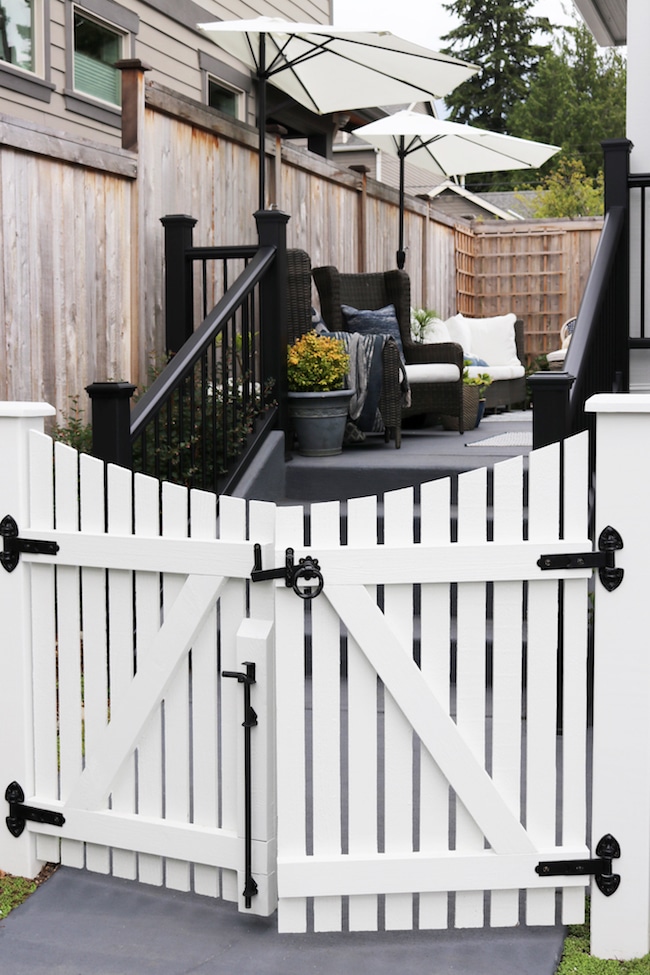
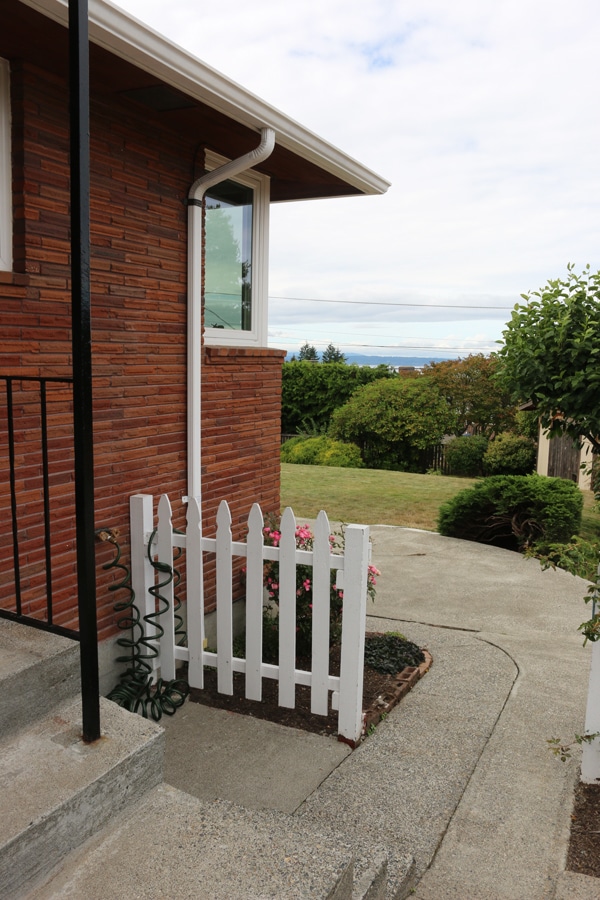
Installed a white picket garden gate (click for post details)
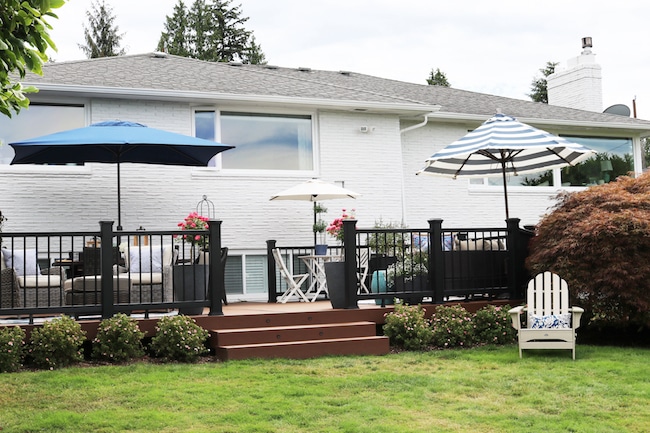
Lots of landscaping to the yard
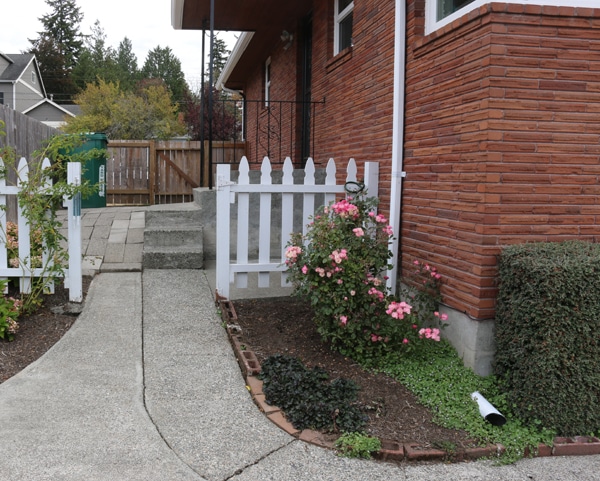
Installed a fence and white gate (click for details)
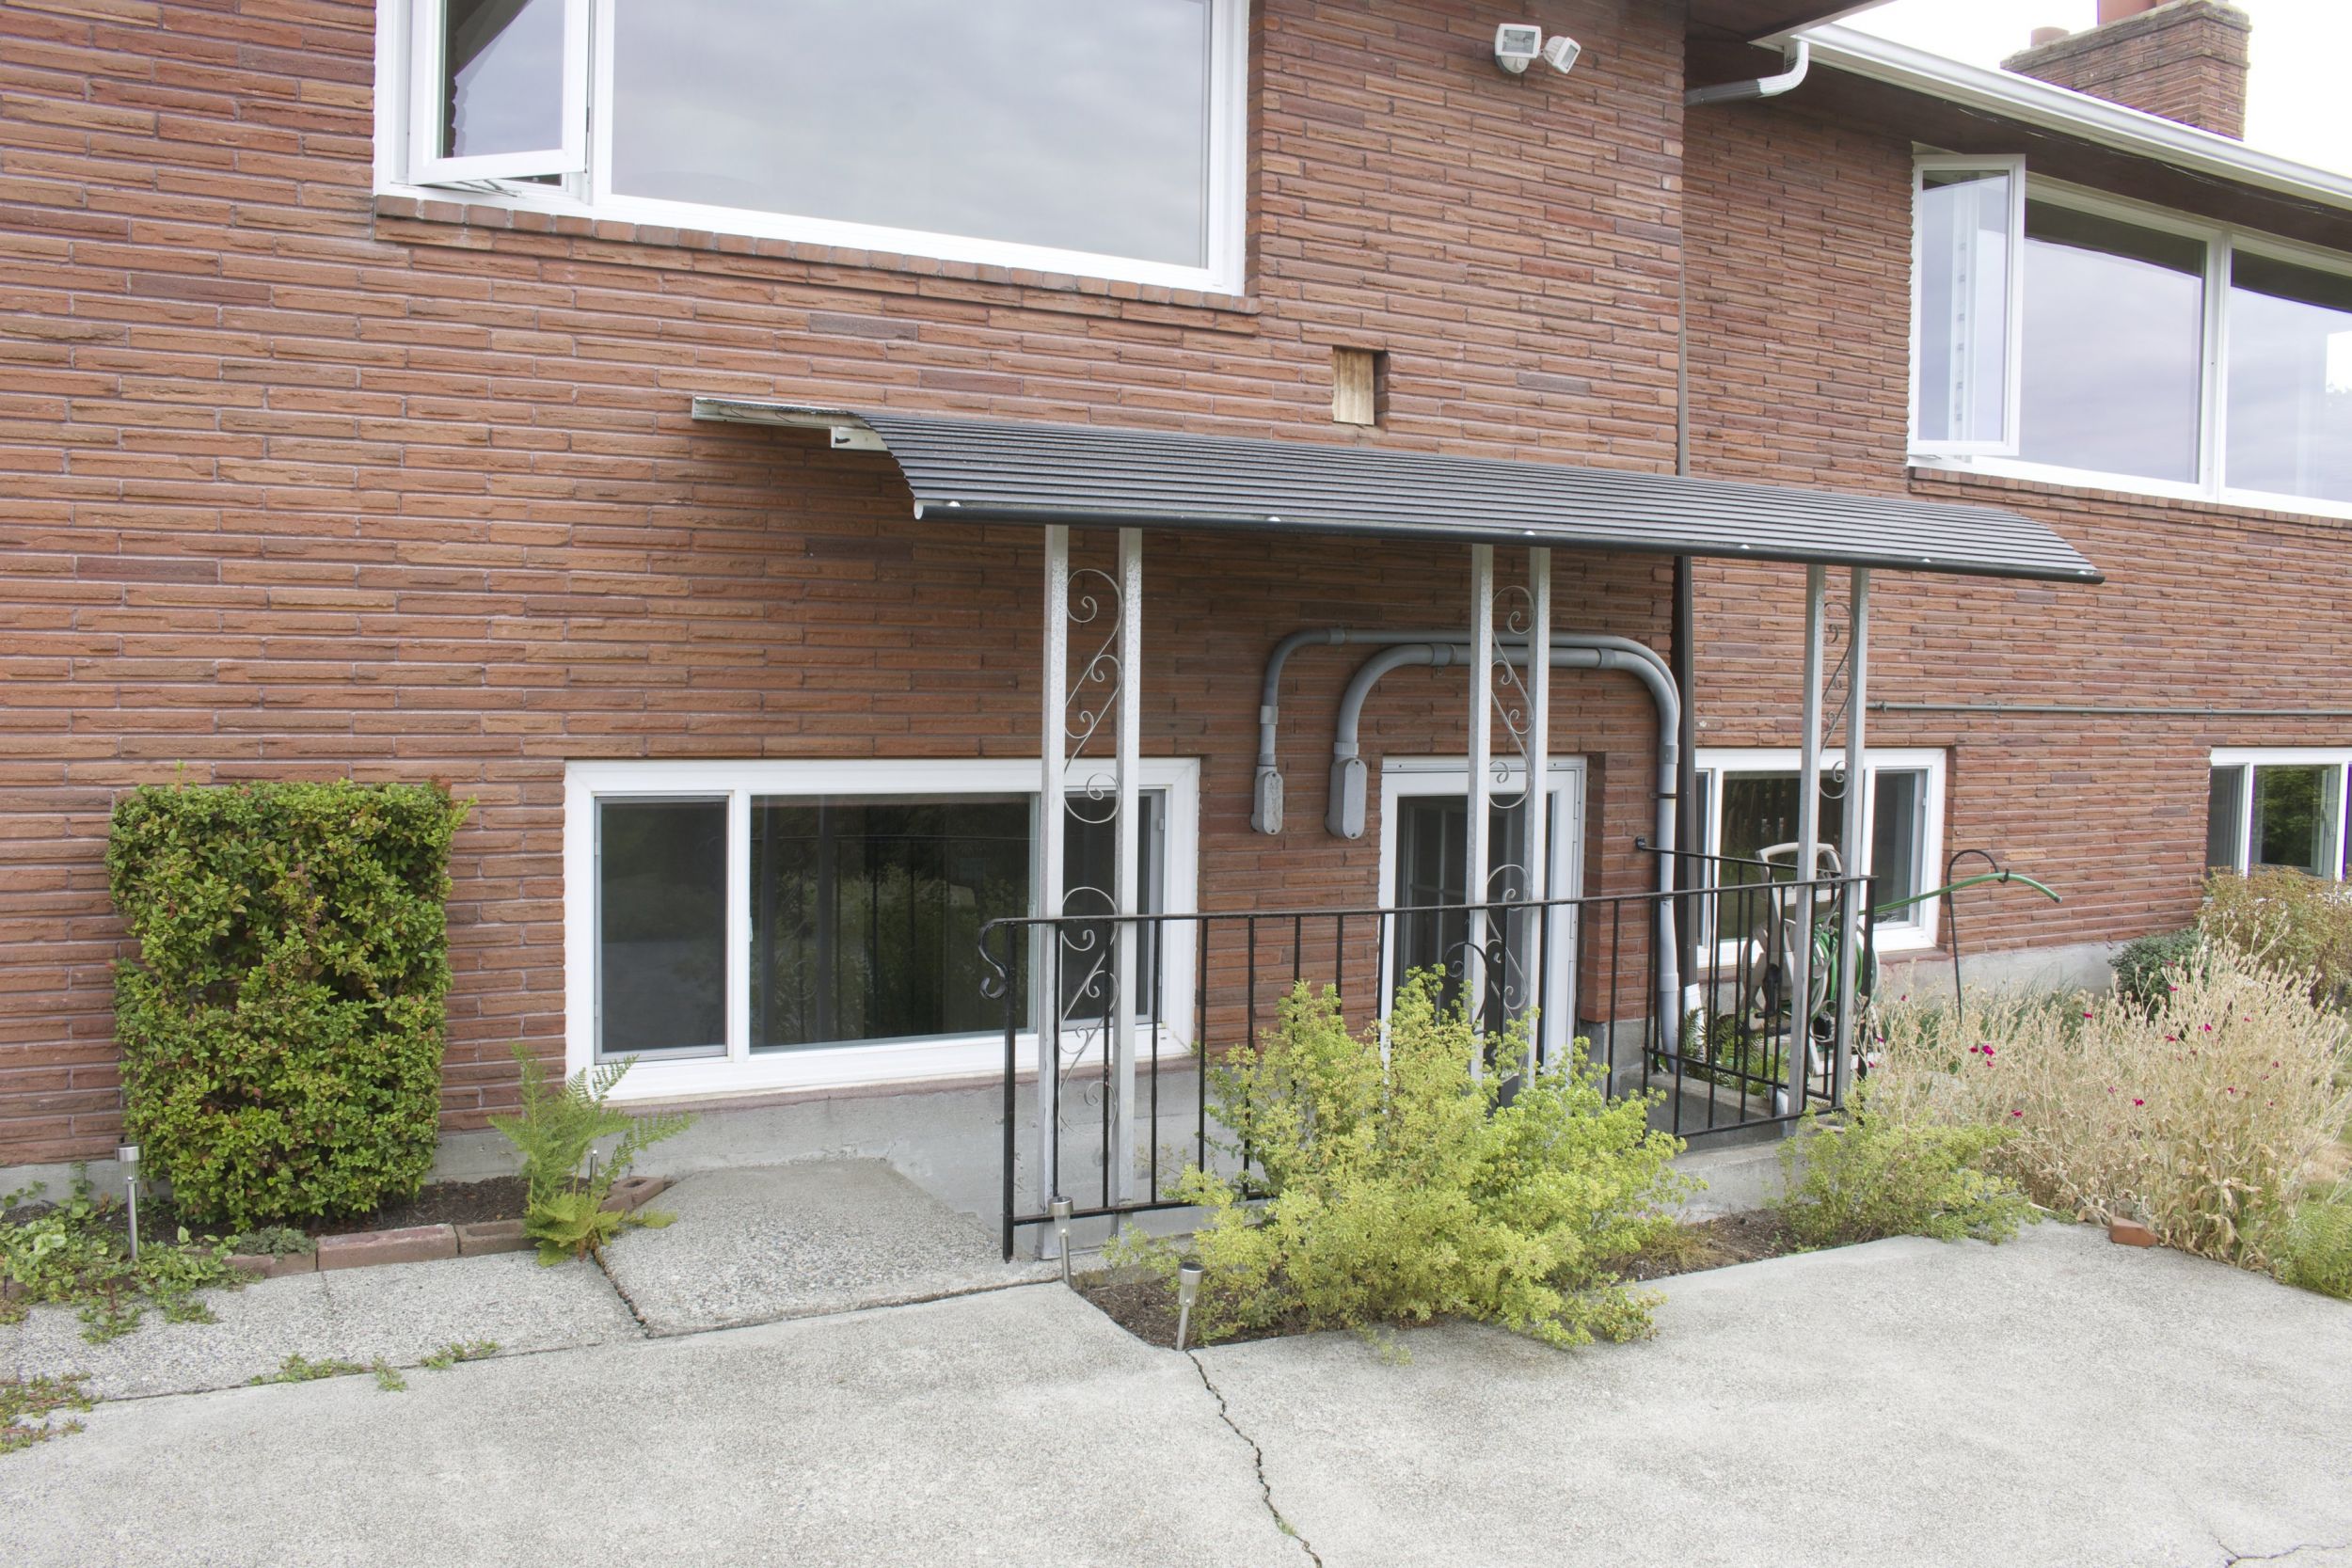
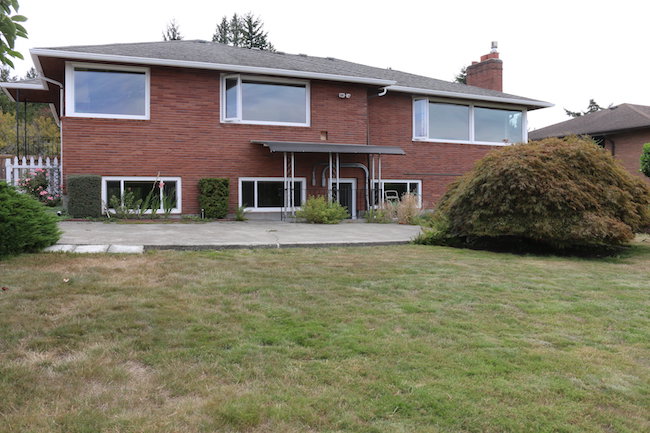
Removed metal awning
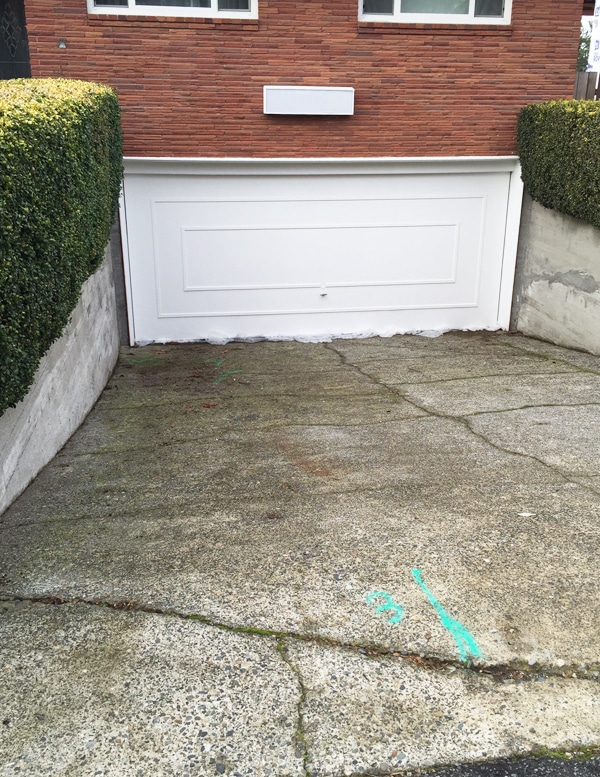
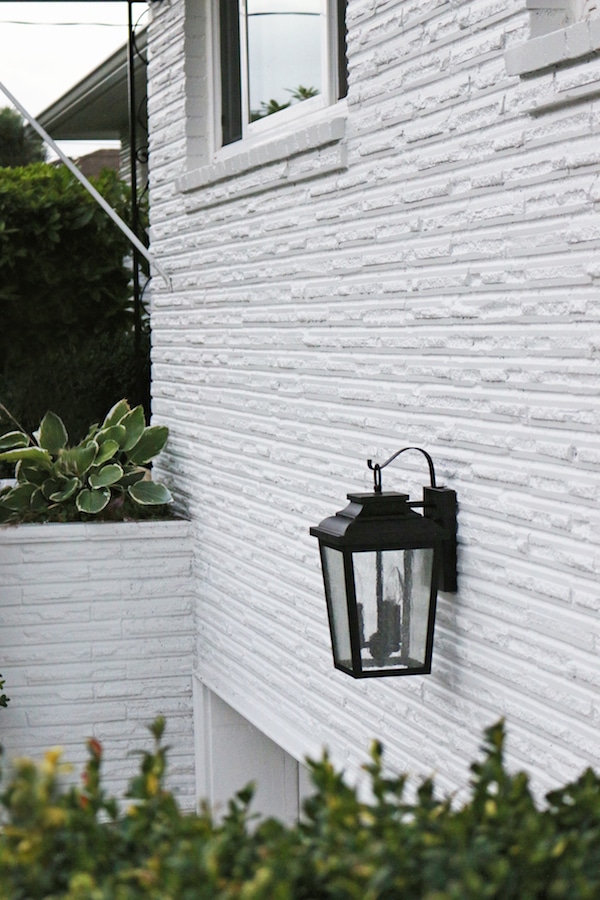
Got a new driveway and lantern (click for lantern source)
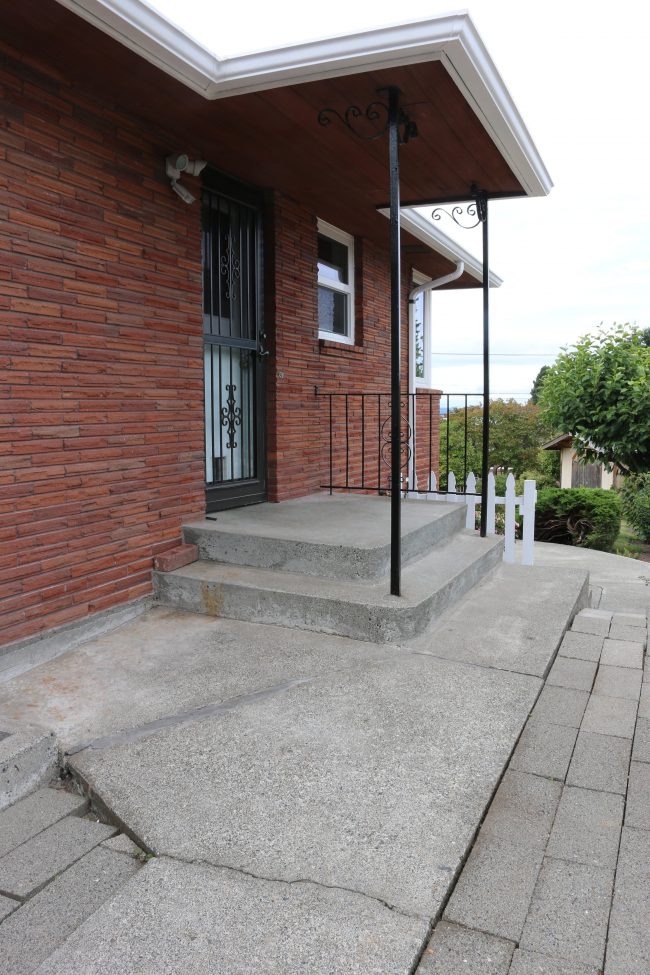
After: Painted Concrete Steps and Patio
Progress
Paint, new Dutch door, new lights from Barn Light.
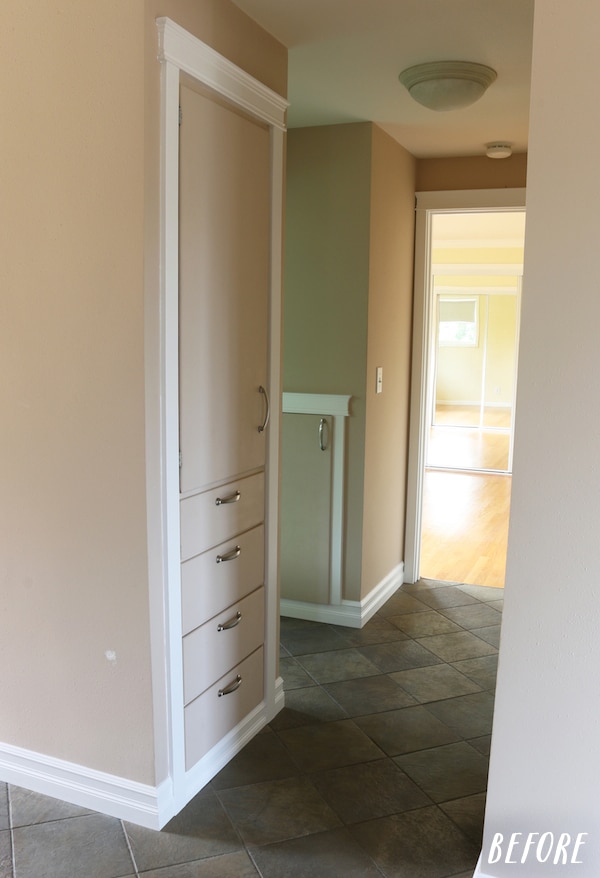
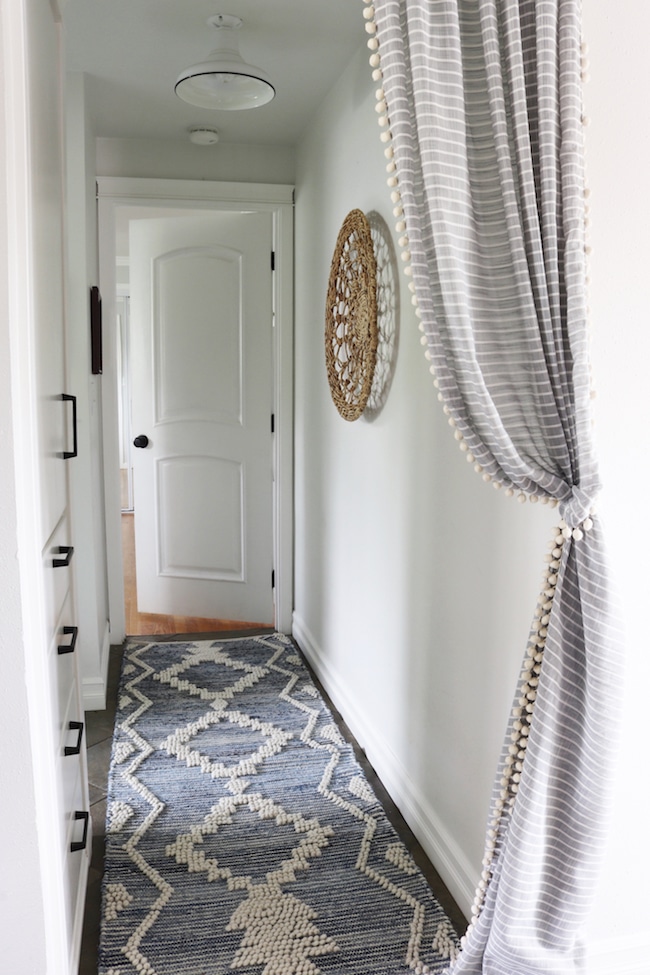
Progress: Refreshed with paint and hardware
Swapped out hardware and hung a curtain from a tension rod to separate off the master bedroom and bathroom
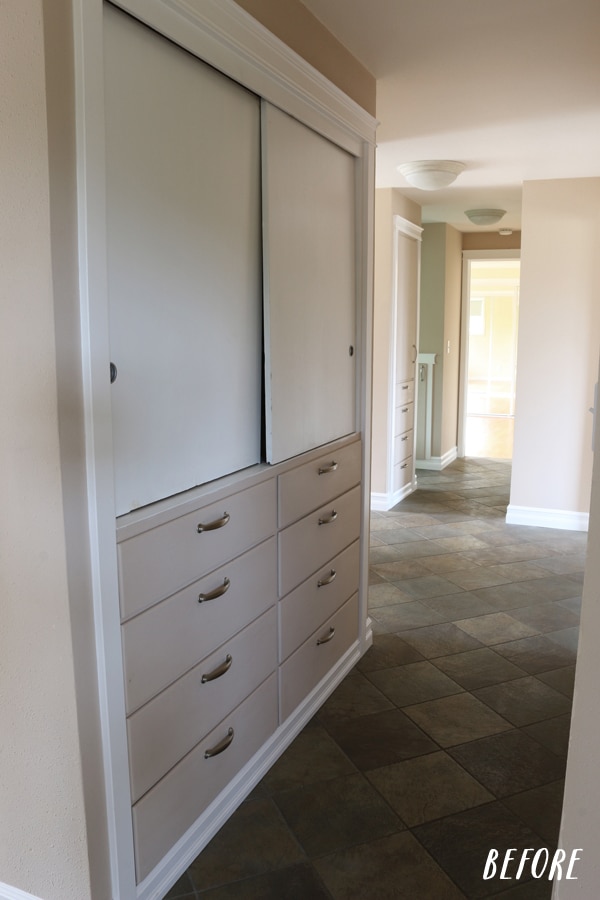
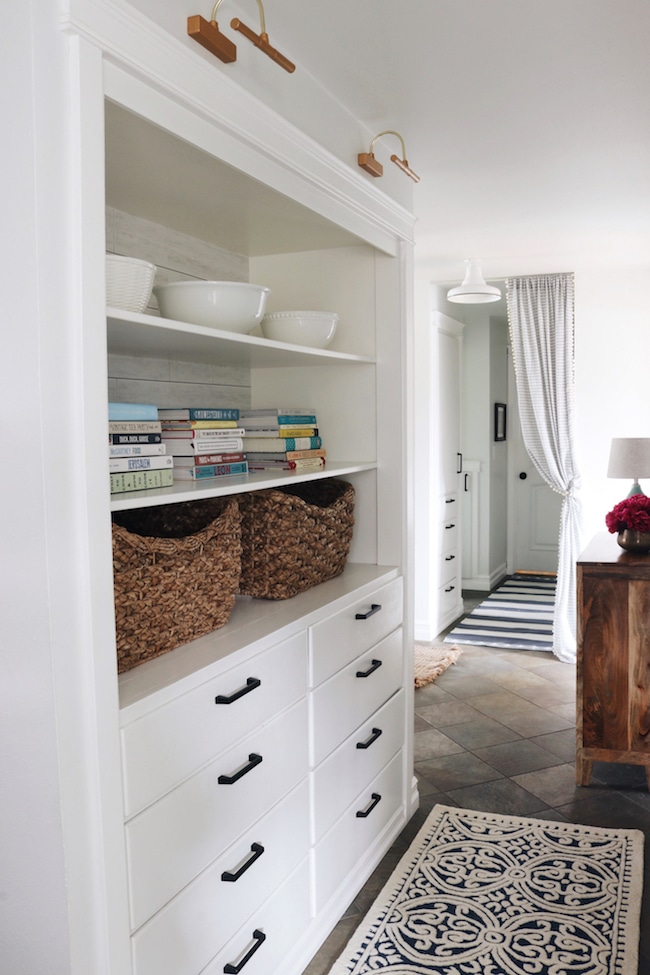
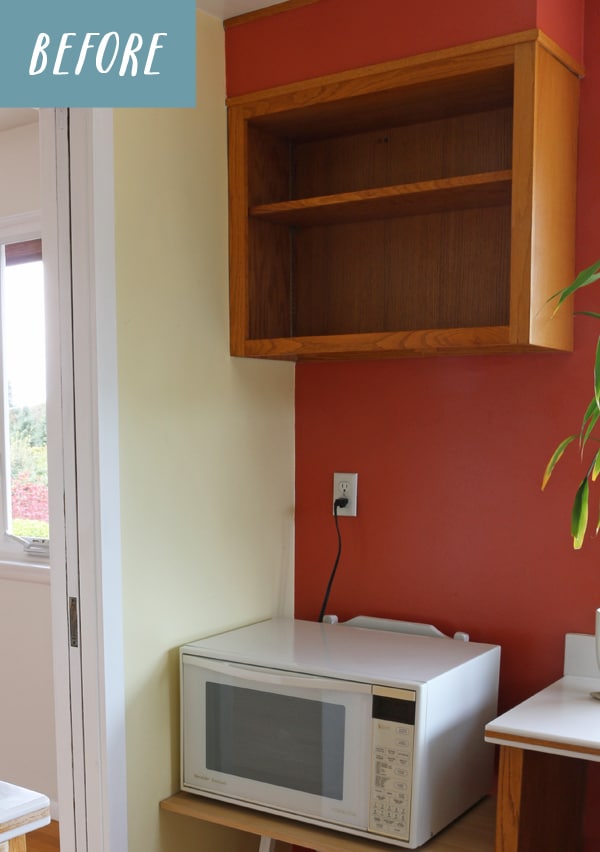
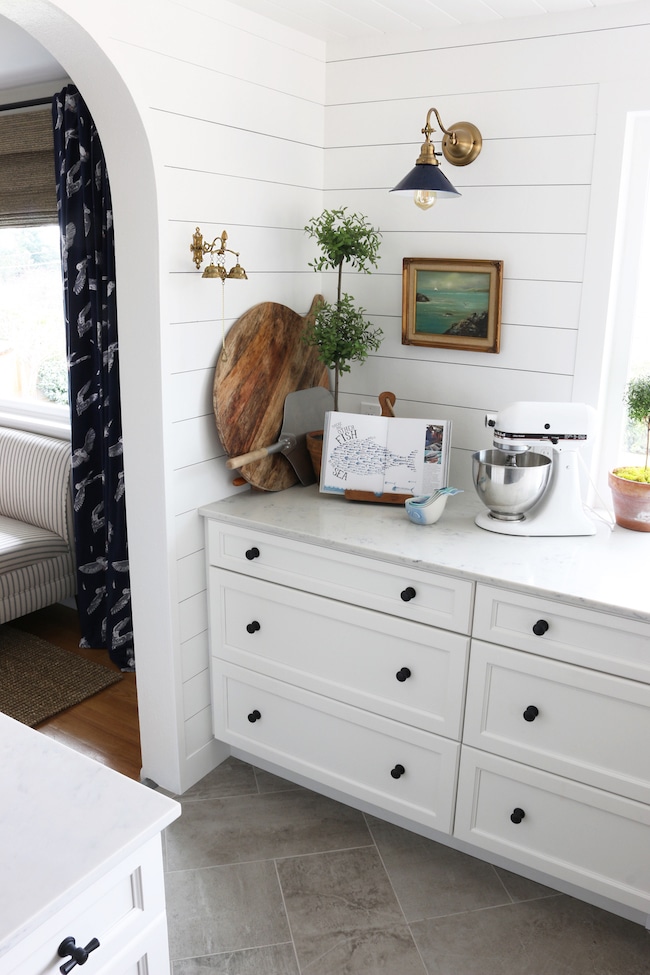
Simple Cabinet Makeover with battery-operated sconces, new hardware and removable shiplap wallpaper (click for details)
Made two square doors into an archway (click for details)
Click the links below for posts on this space:
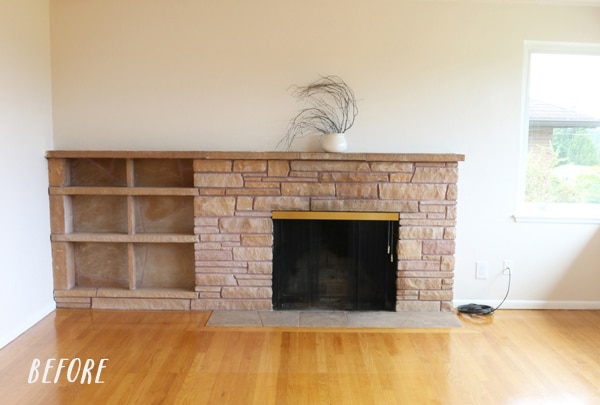
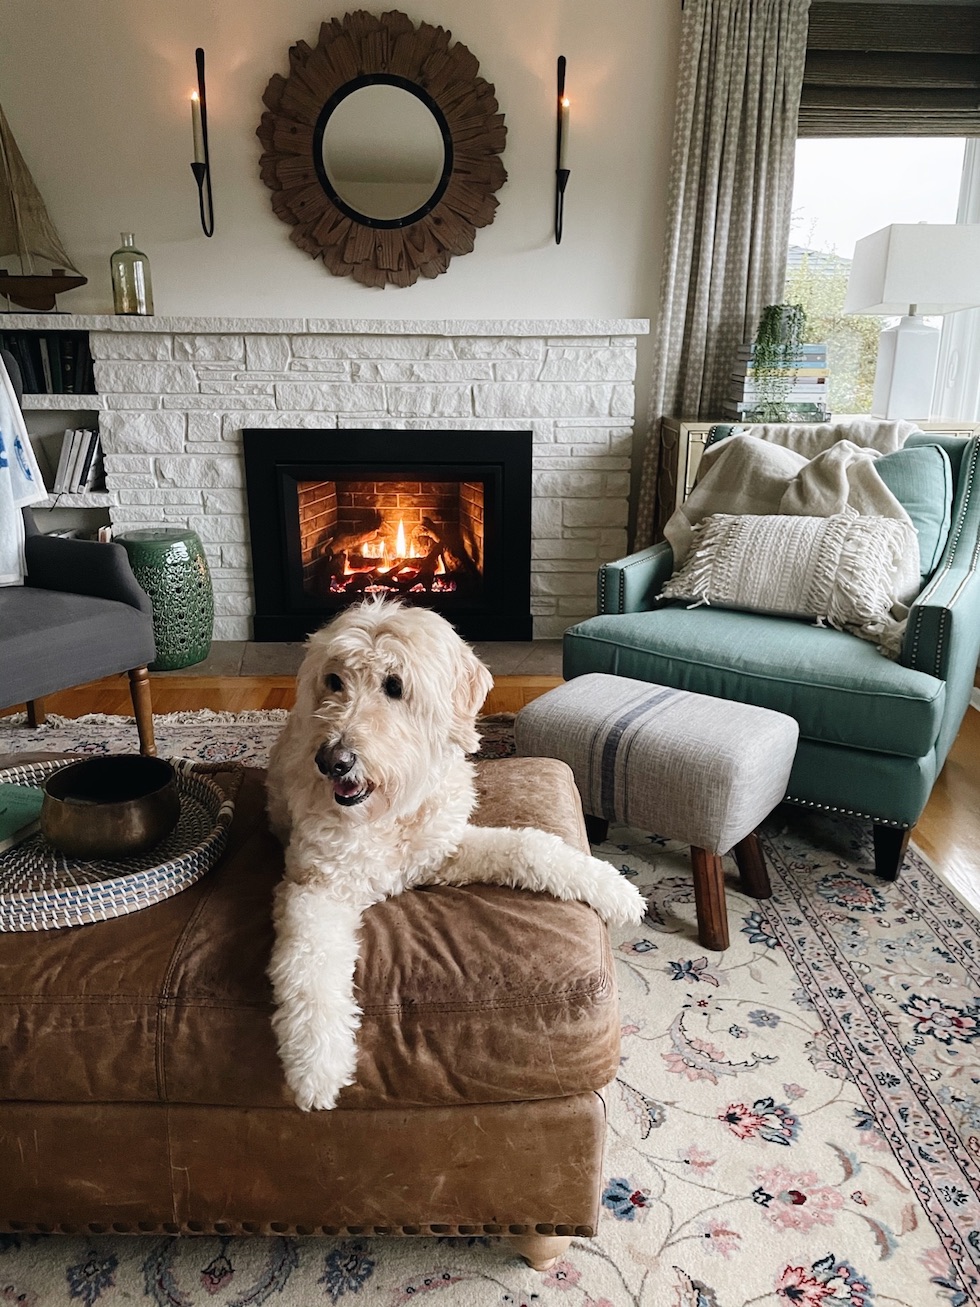
Painted our fireplace stone with gray chalk paint, then white!
Installed a fireplace insert – click here for details and before & after
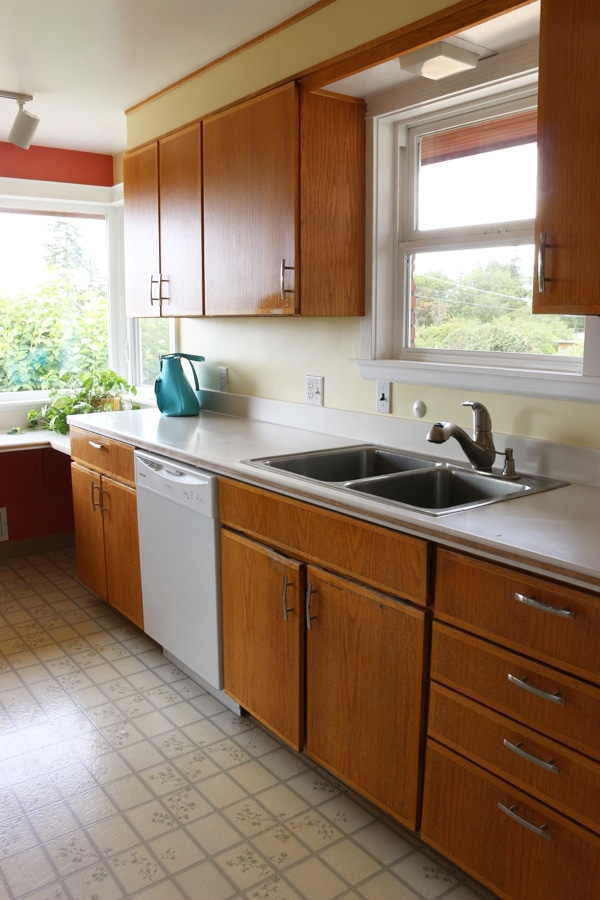
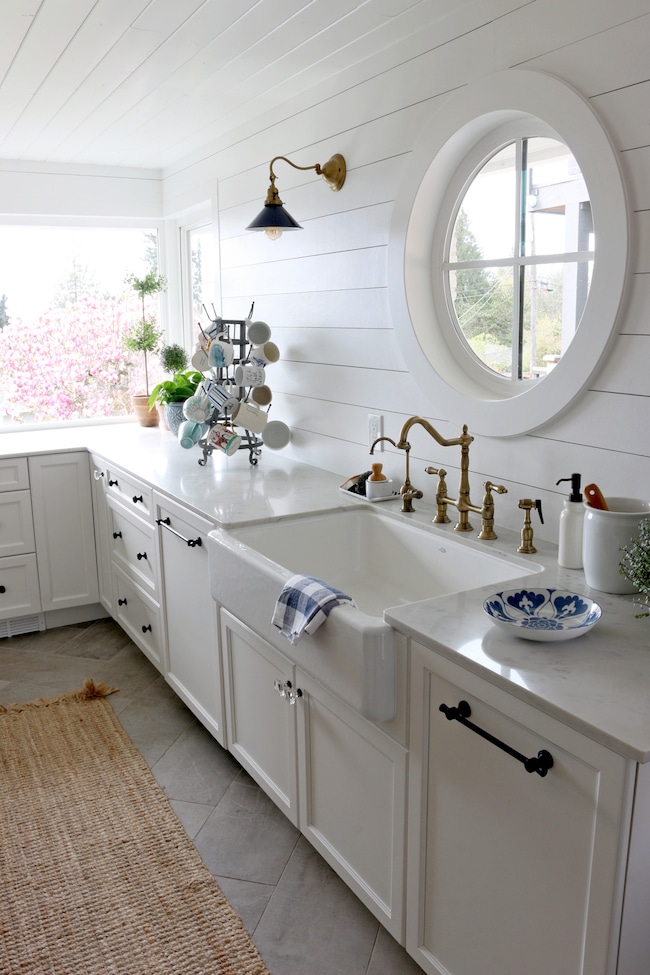
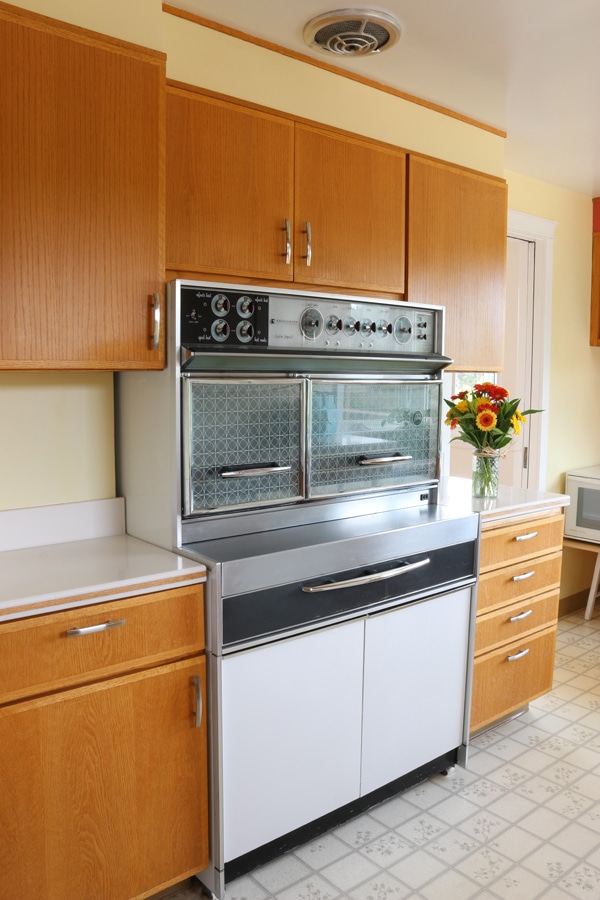
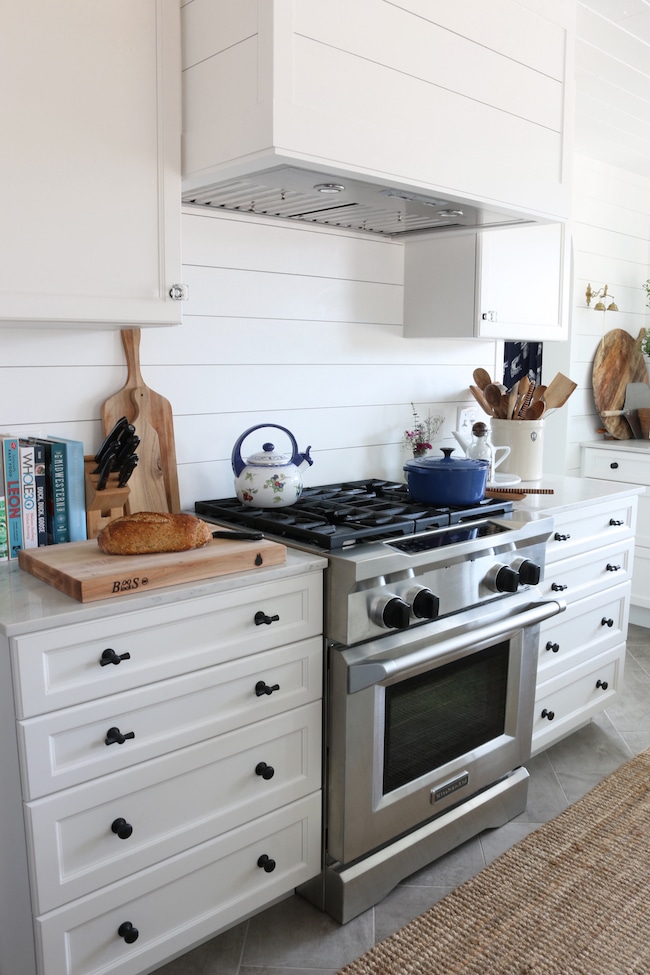
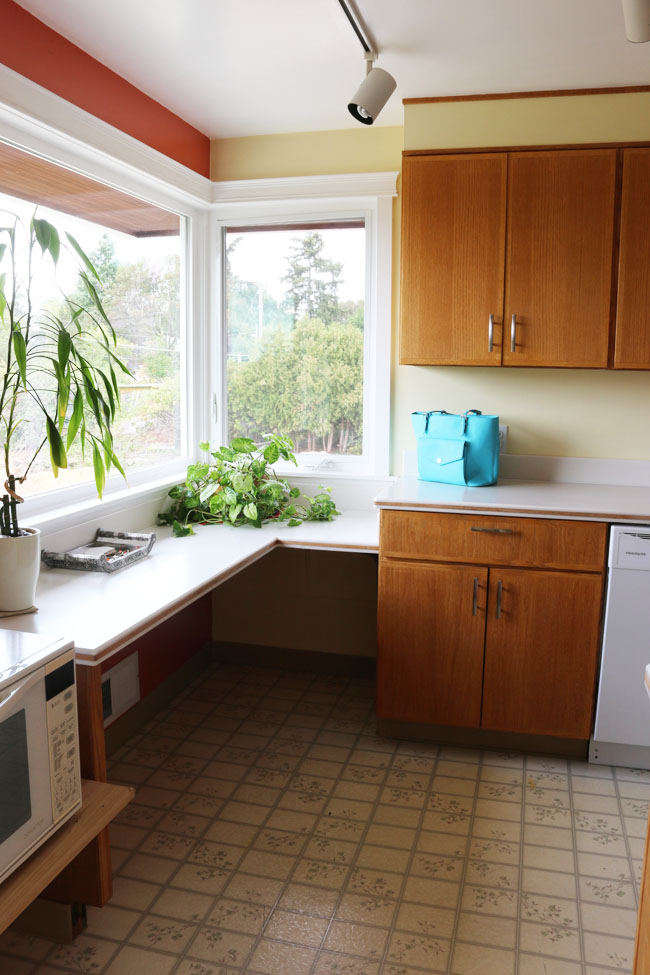
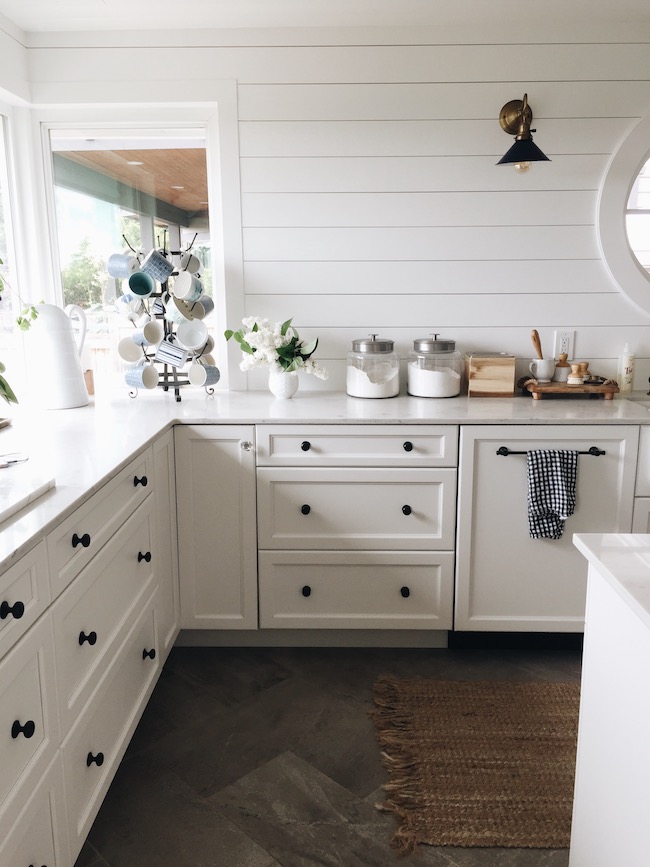
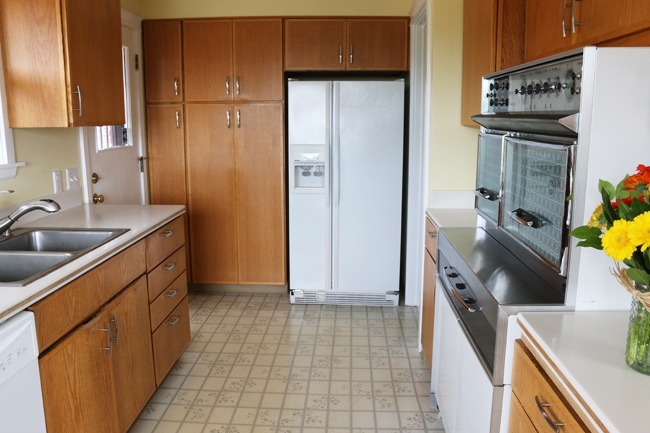
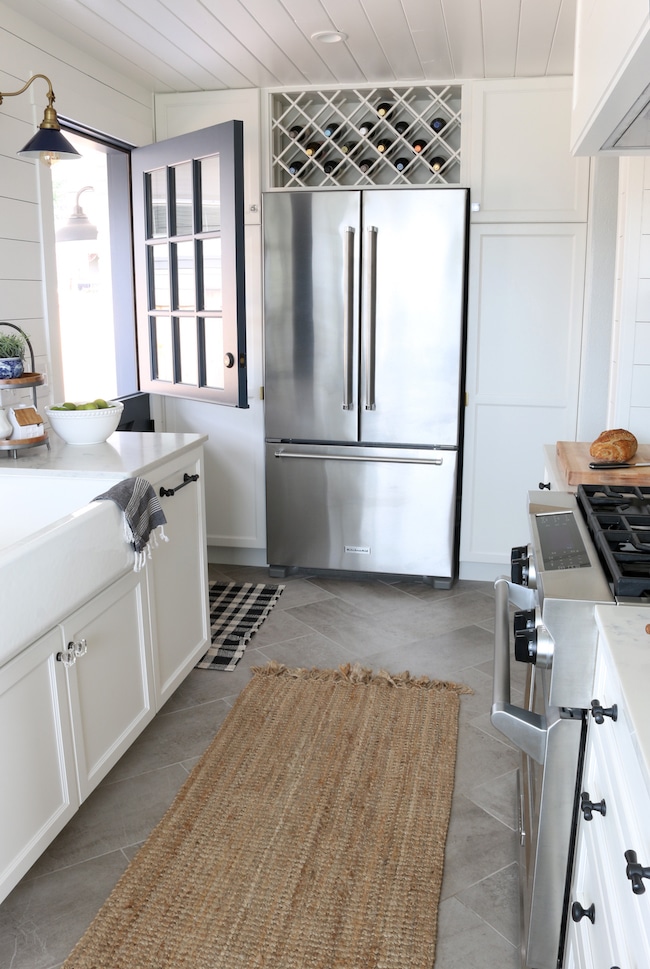
Remodeled our entire kitchen including replacing a square window with round.
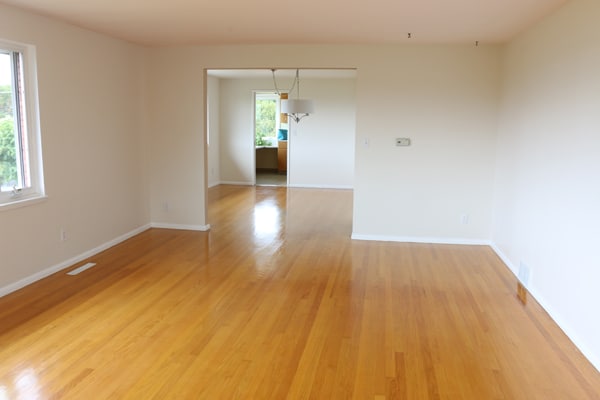
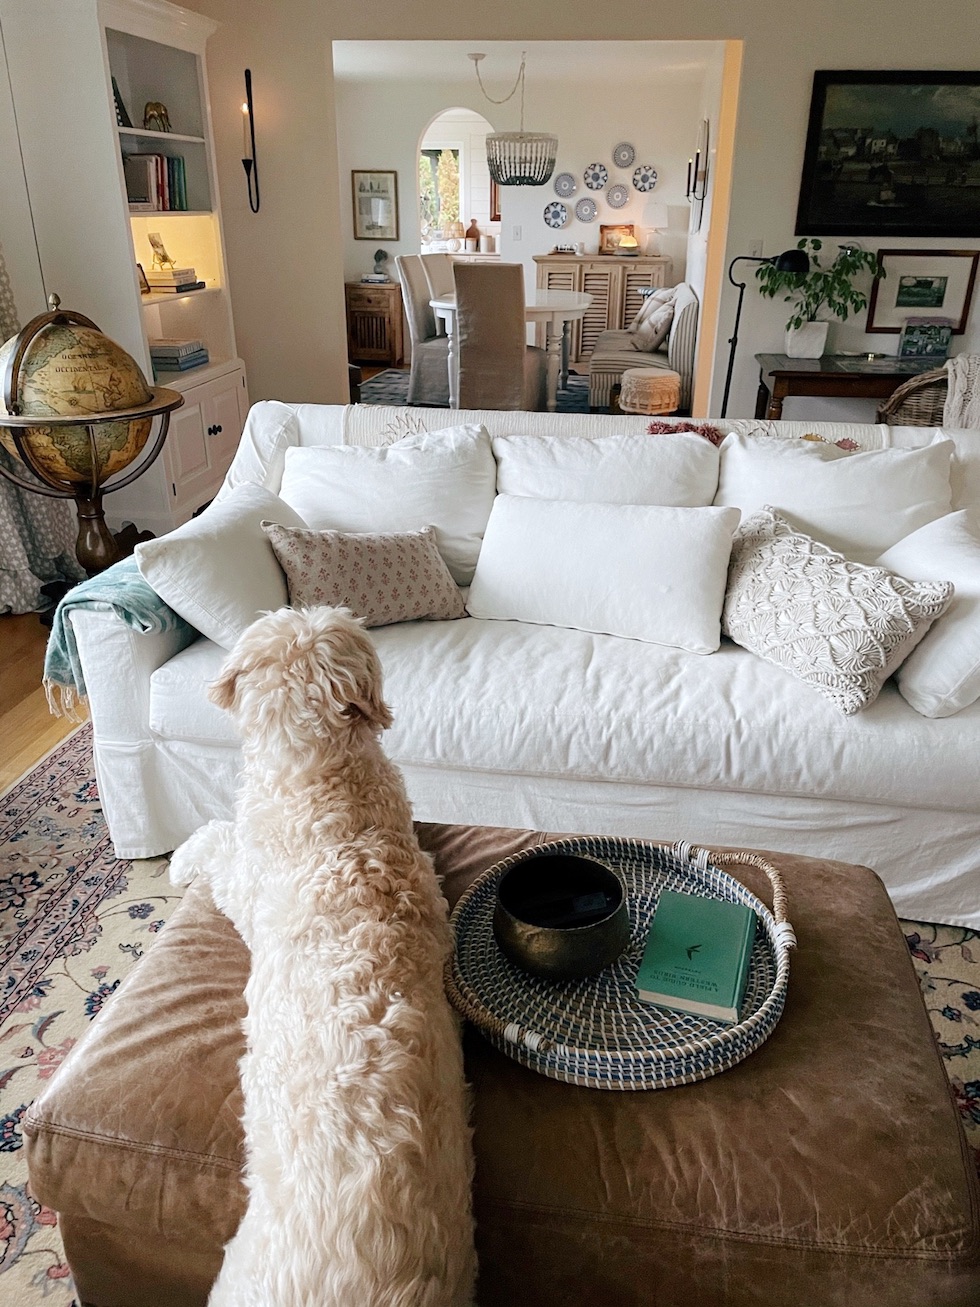
Click the links below for posts on this space:
Our Kitchen Remodel: Before & After.
All kitchen details, sources, FAQ and ideas to get the look!
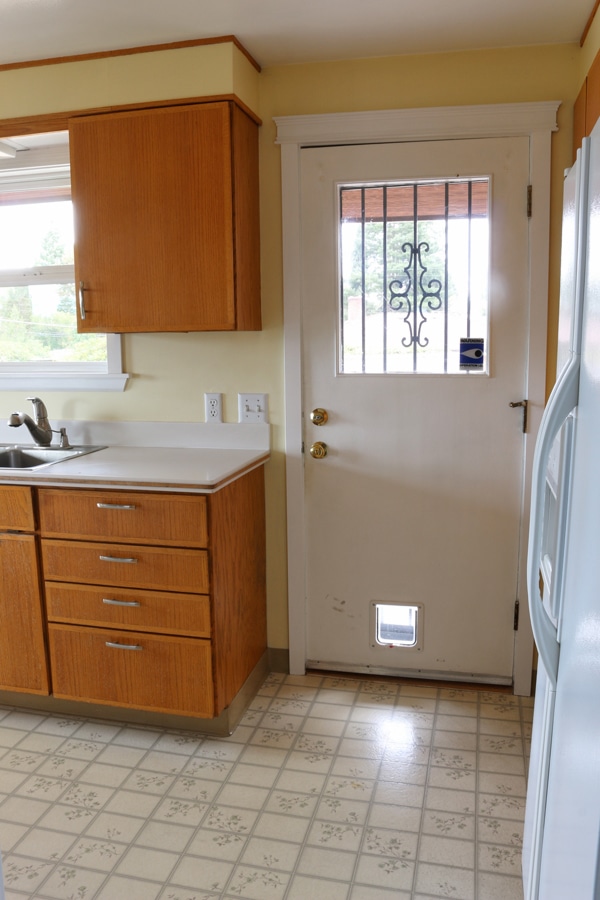
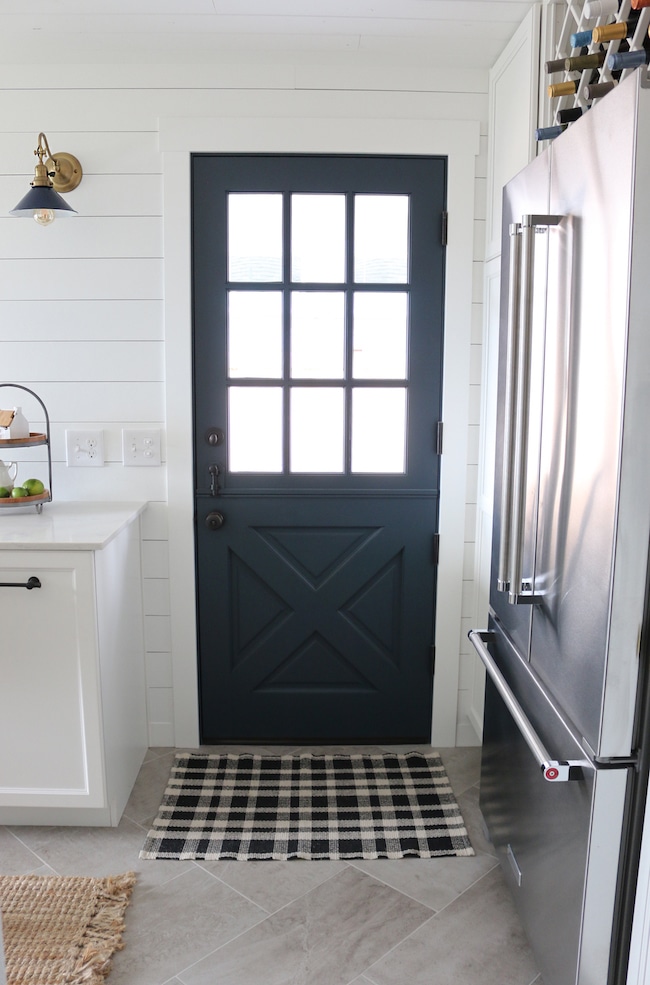
Replaced side door with Dutch door (click for details)
Updated our Small Guest Room (click for details)
Click the links below for posts on this space:
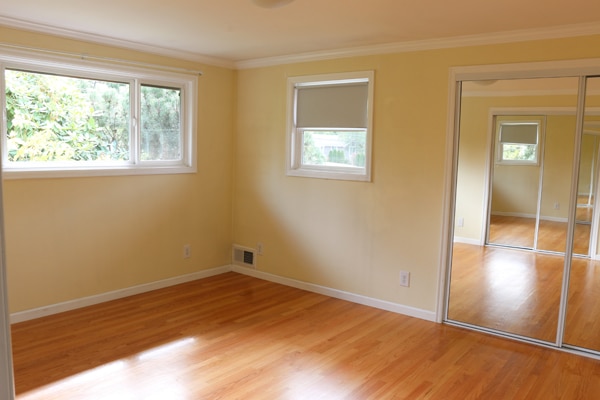
Painted Master Bedroom a dark plum color
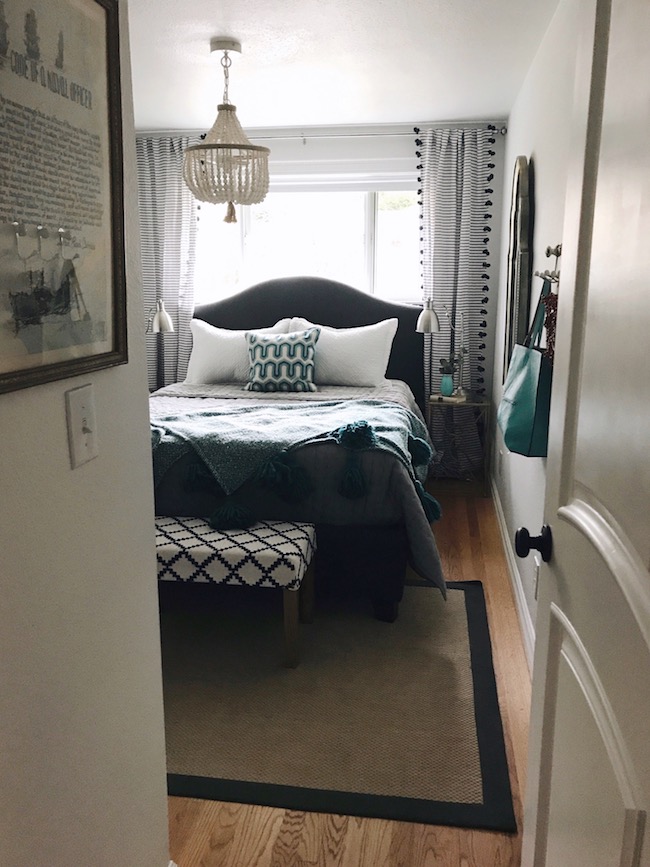
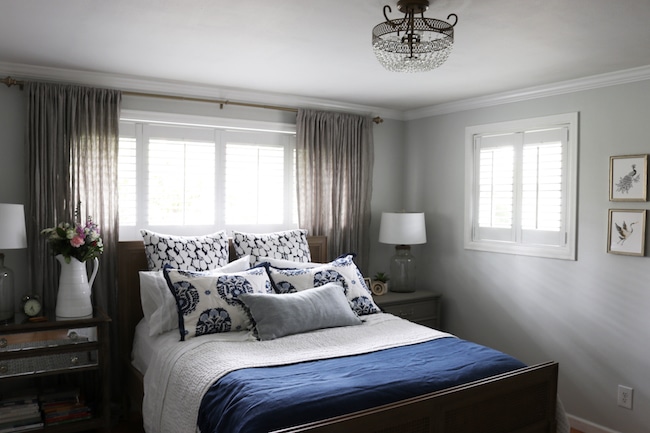
Recent Master Bedroom Makeover
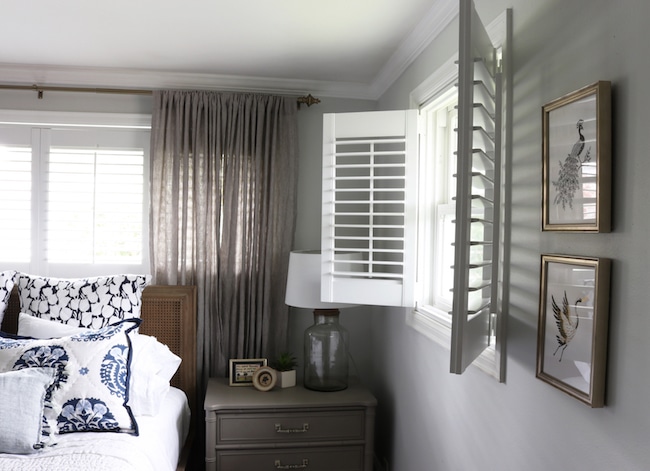
Installed plantation shutters throughout the house (click for details)
Changed two square doors to an arch (click for details)
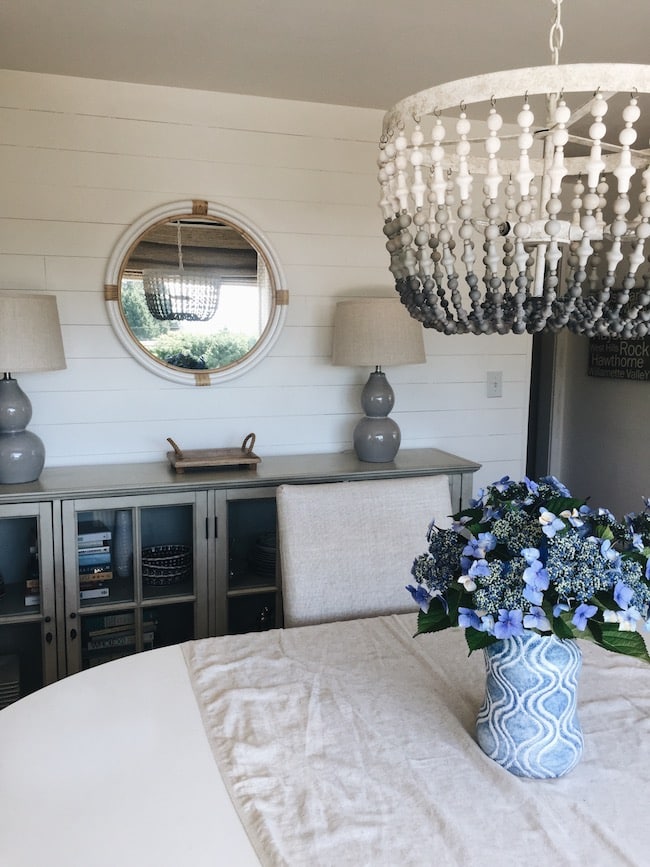
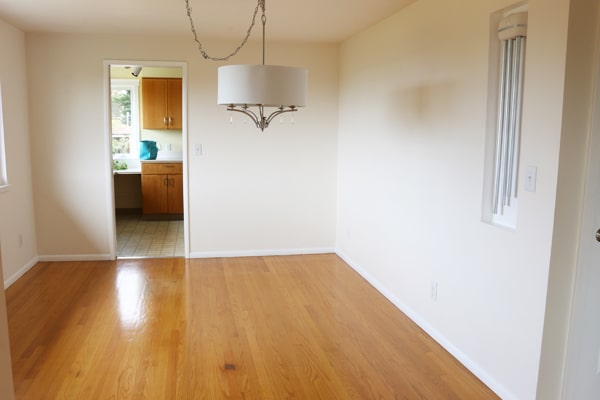
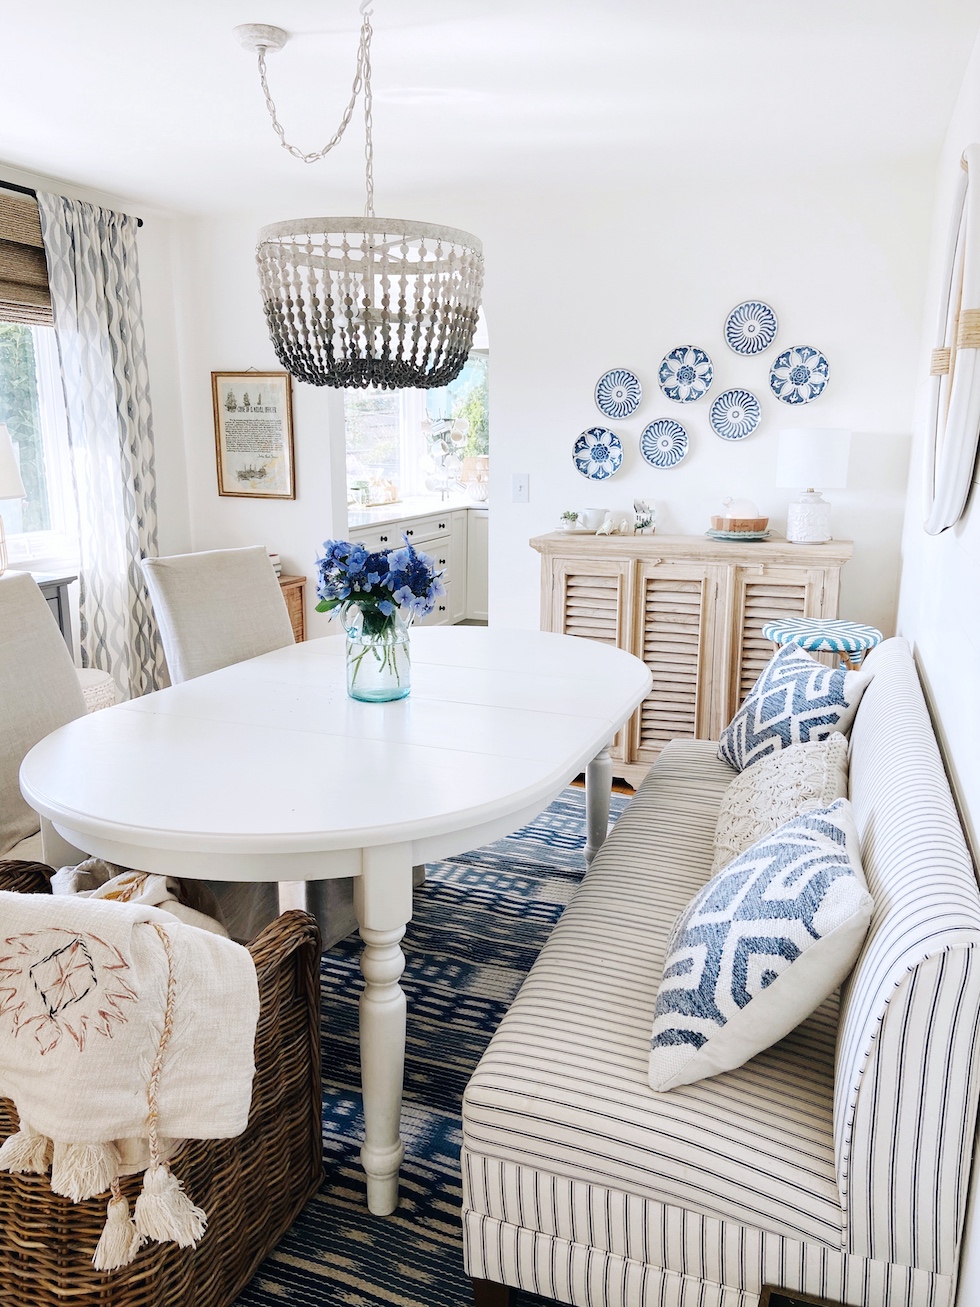
Removed doorbell and installed shiplap walls in dining room (click for details)
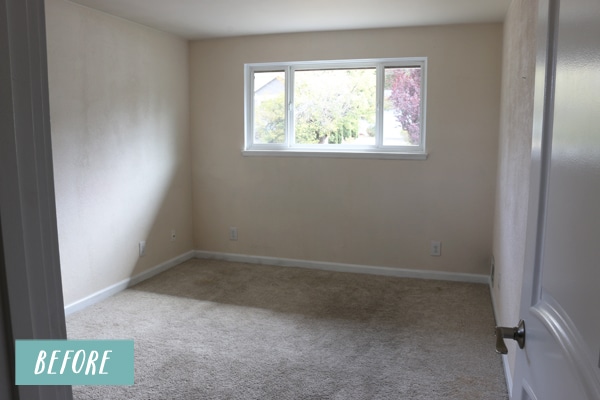
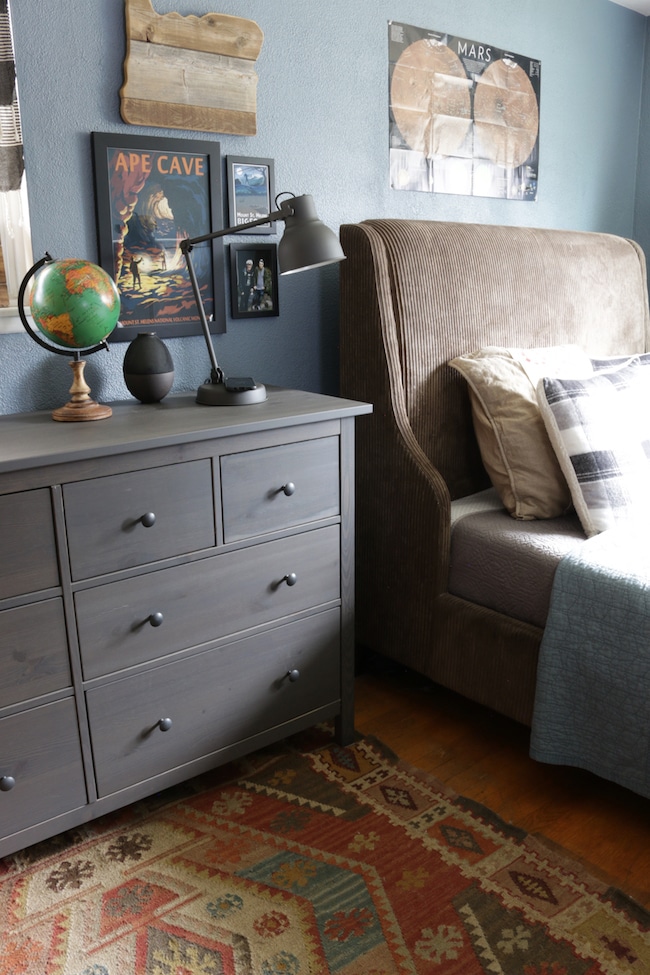
Pulled out carpet and painted my son’s room (Night Sky Grey by Glidden)
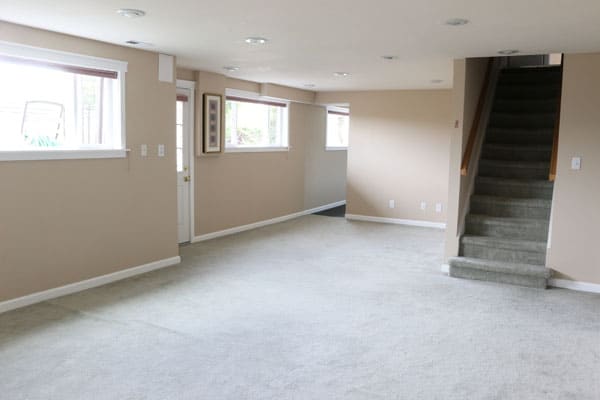
Added a wall in our lower level to create a separate home office / guest space (click for details)
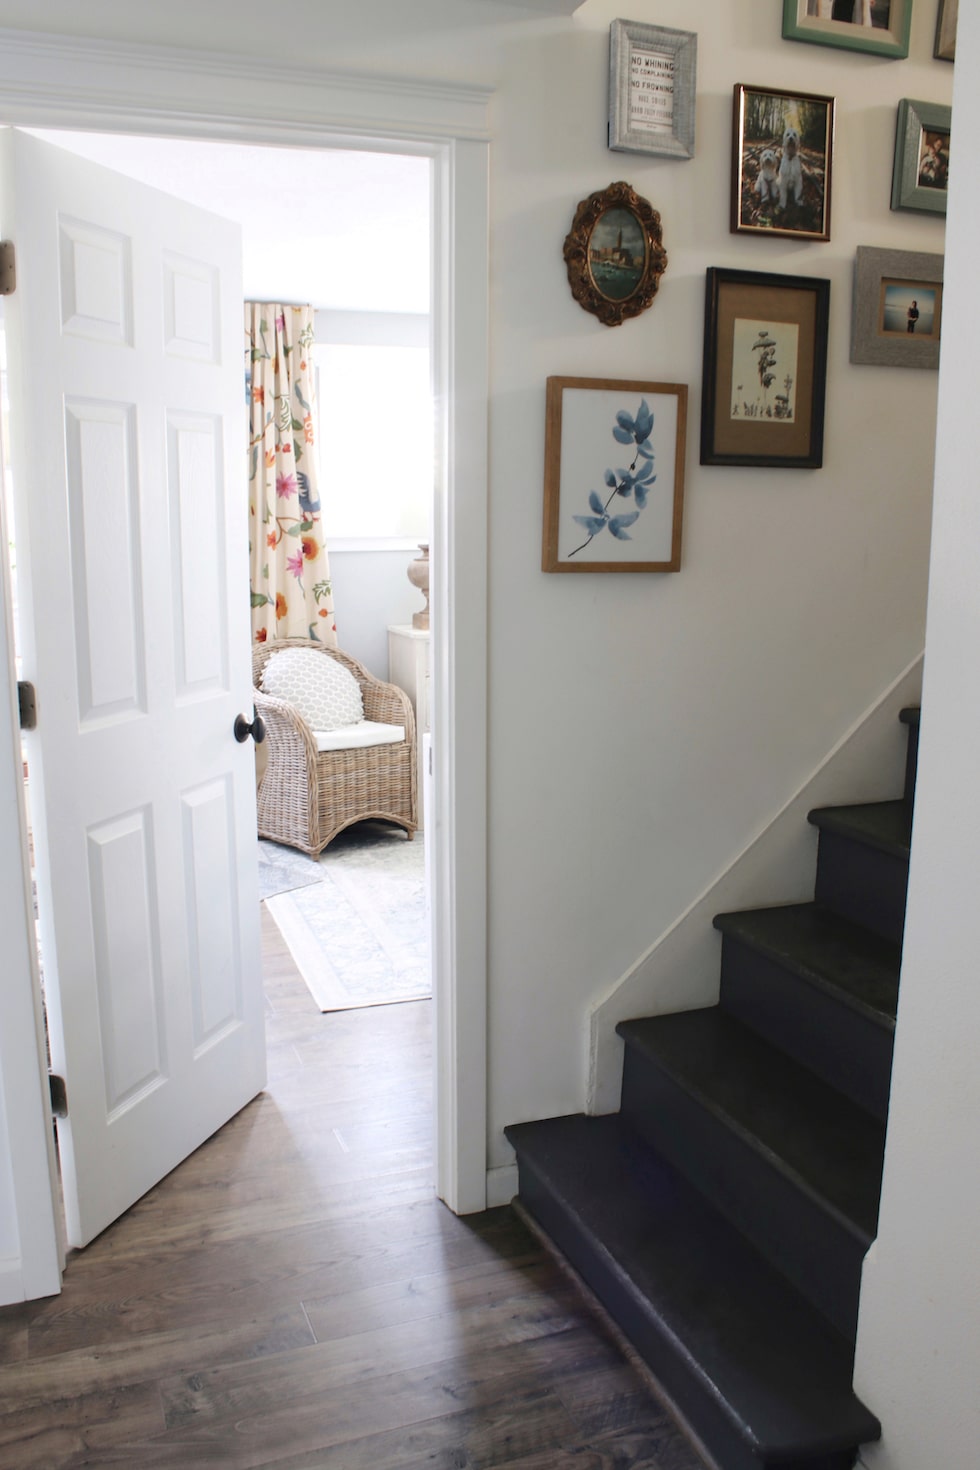
Removed carpet and painted staircase (Kendall Charcoal Benjamin Moore)
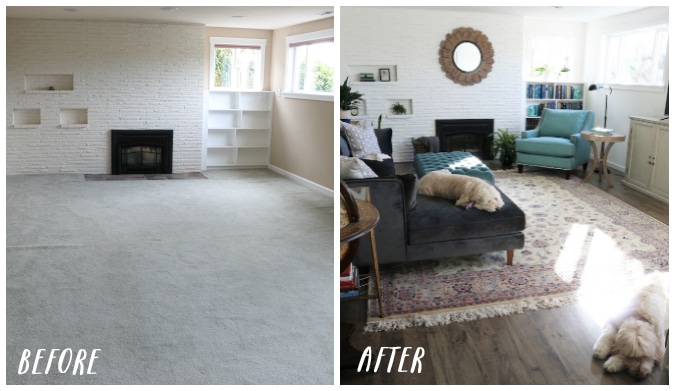
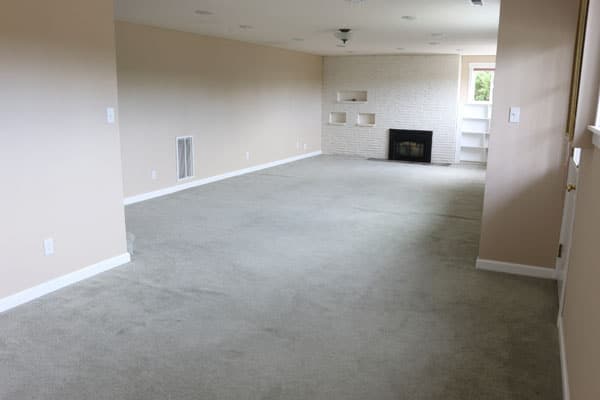
Installed new laminate flooring in the basement (click for details)
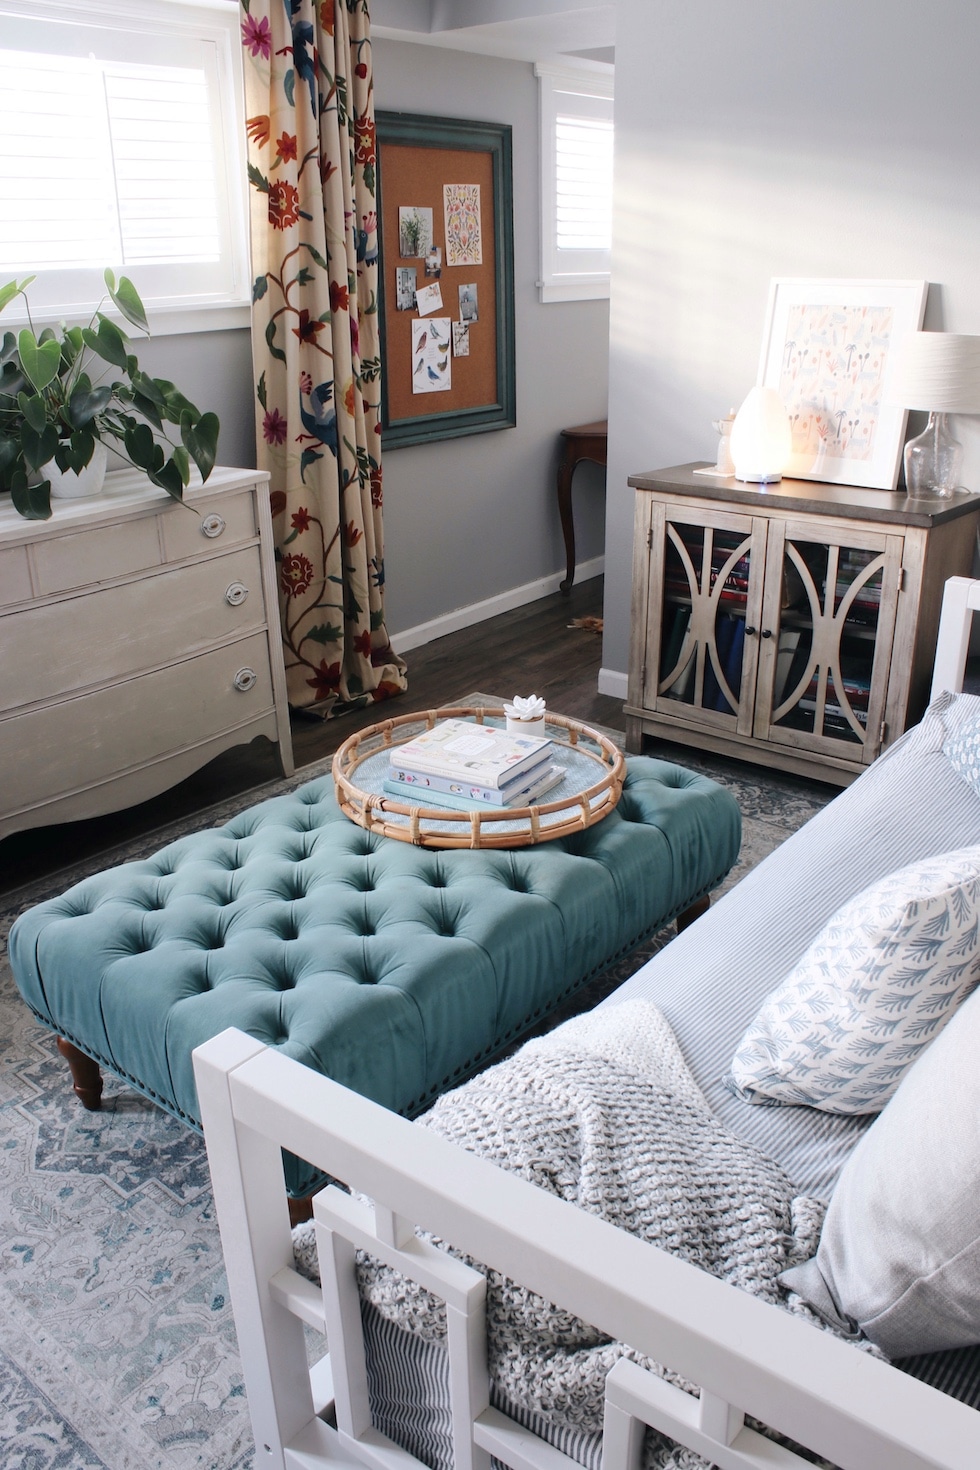
Progress: new room in basement
Set up an apartment space in the new room in our lower level (click for details)
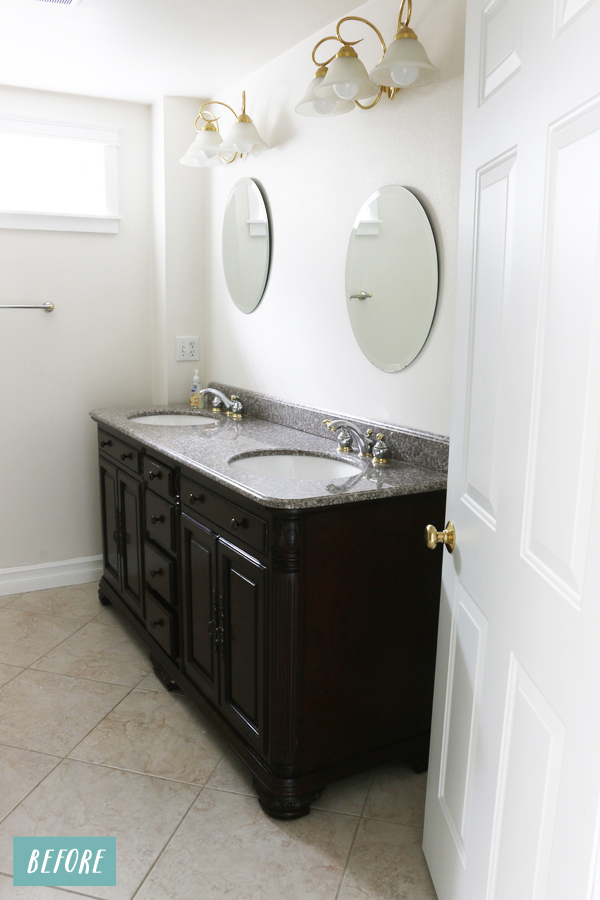
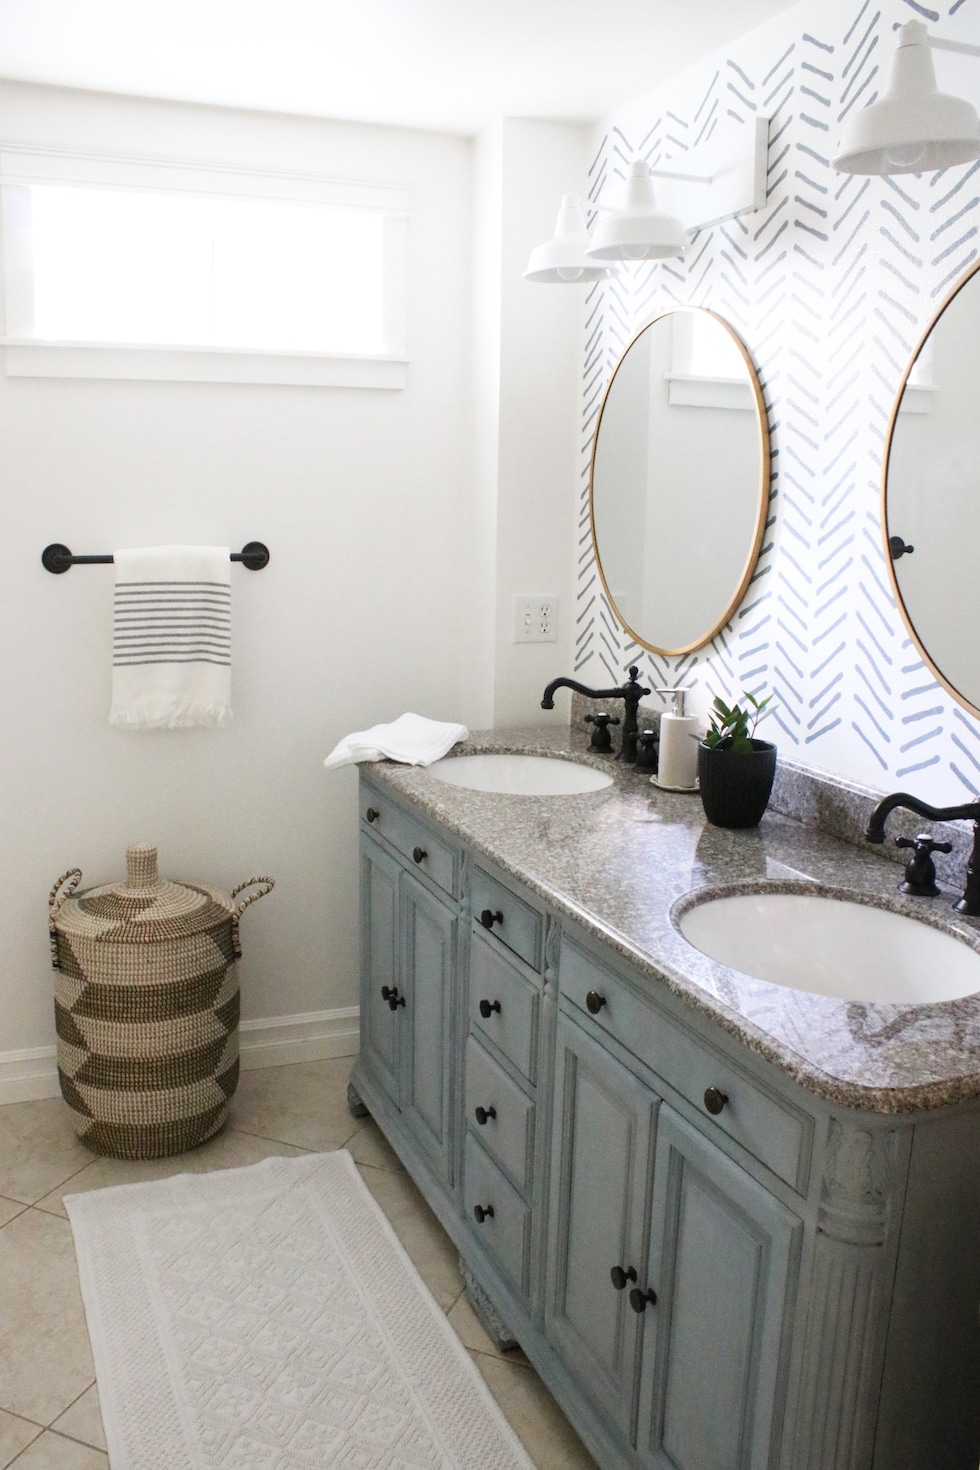
Did a simple makeover on our basement bathroom with a painted vanity, wall stencil, new lights and fixtures. (click for details)
We feel great about our progress, but there’s so much more on our list we hope to get to in time! I hope this post inspires you to see the possibility and potential in your home. No matter what your house looks like right now, you can find simple ways to transform it as you add your own personality and style to each space!
More on The Inspired Room:
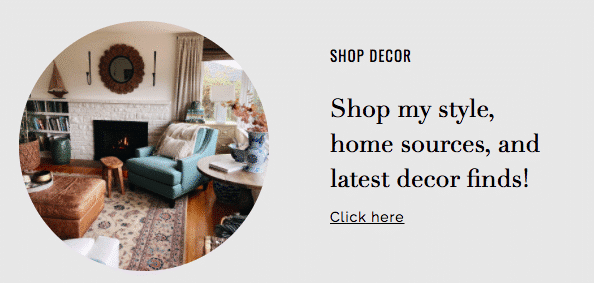
Shop My House, Style, and Latest Decor Finds
Subscribe to my newsletter for exclusive content and to stay in the loop with new posts!
My House Tour (+ details and sources for each room)
My Kitchen Remodel Sources and FAQ
Follow The Inspired Room on Instagram and Facebook
Join my free Facebook community group
My Bestselling Decorating, Homemaking and Organizing Books


7 Comments